No reviews yet. Be the first to review this recipe.
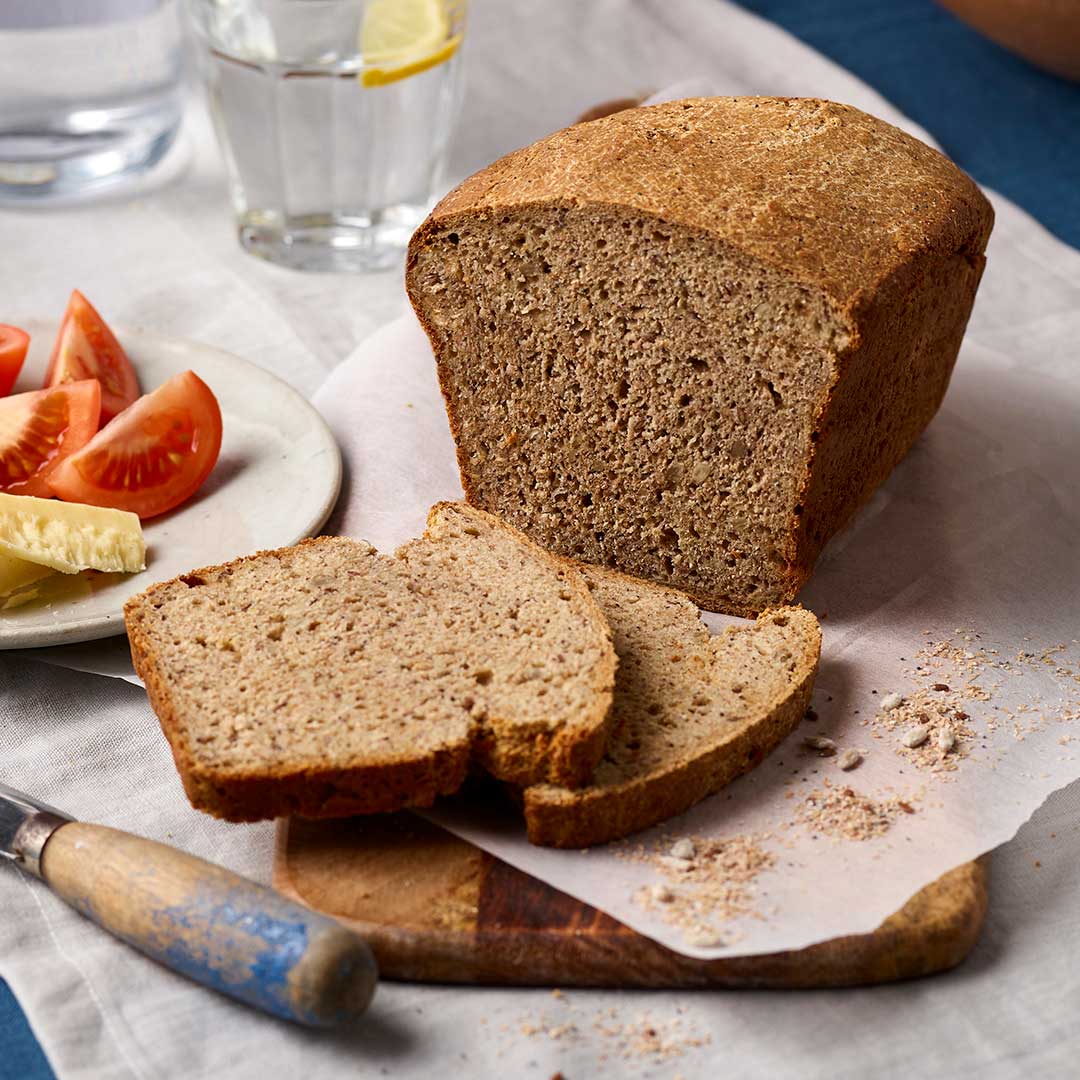
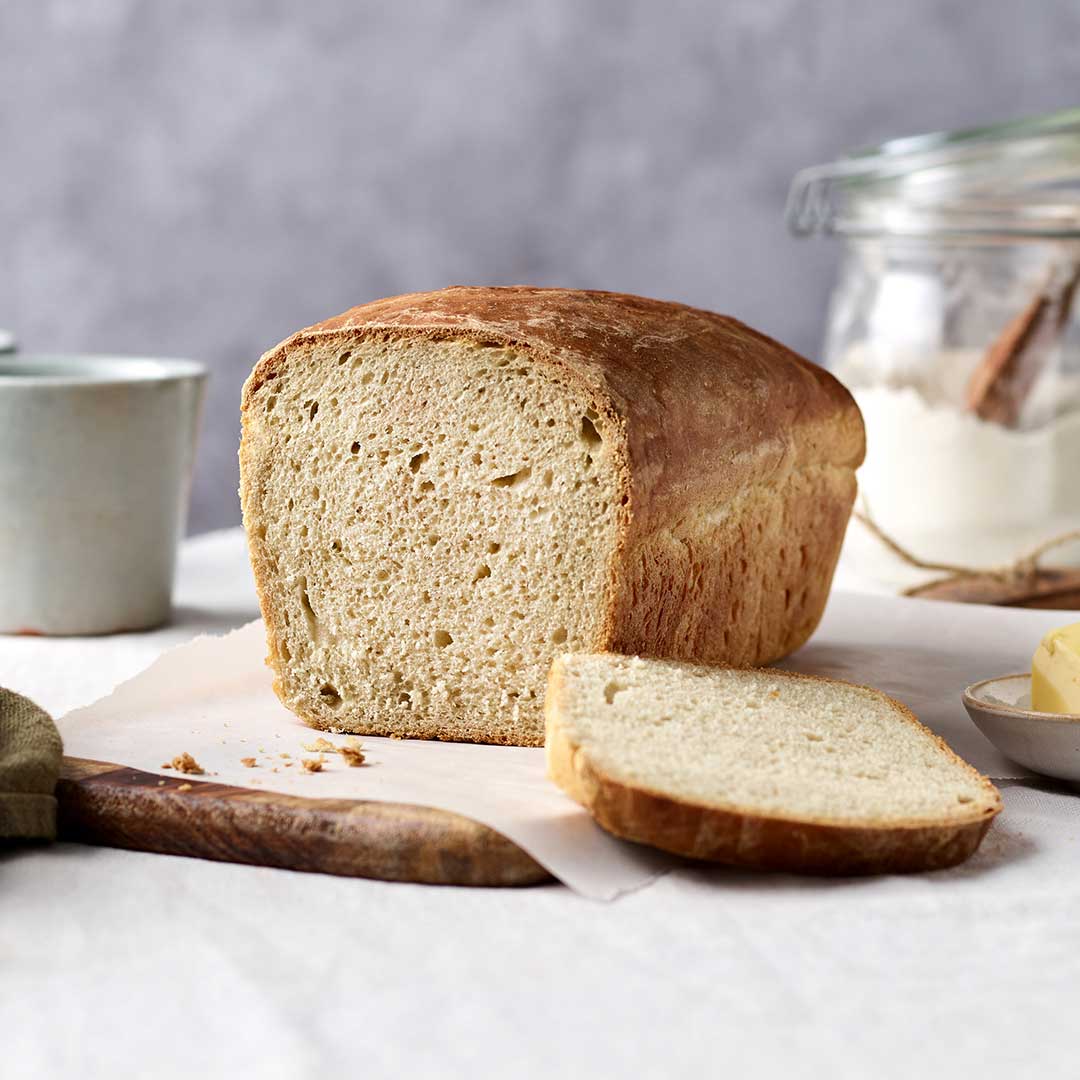
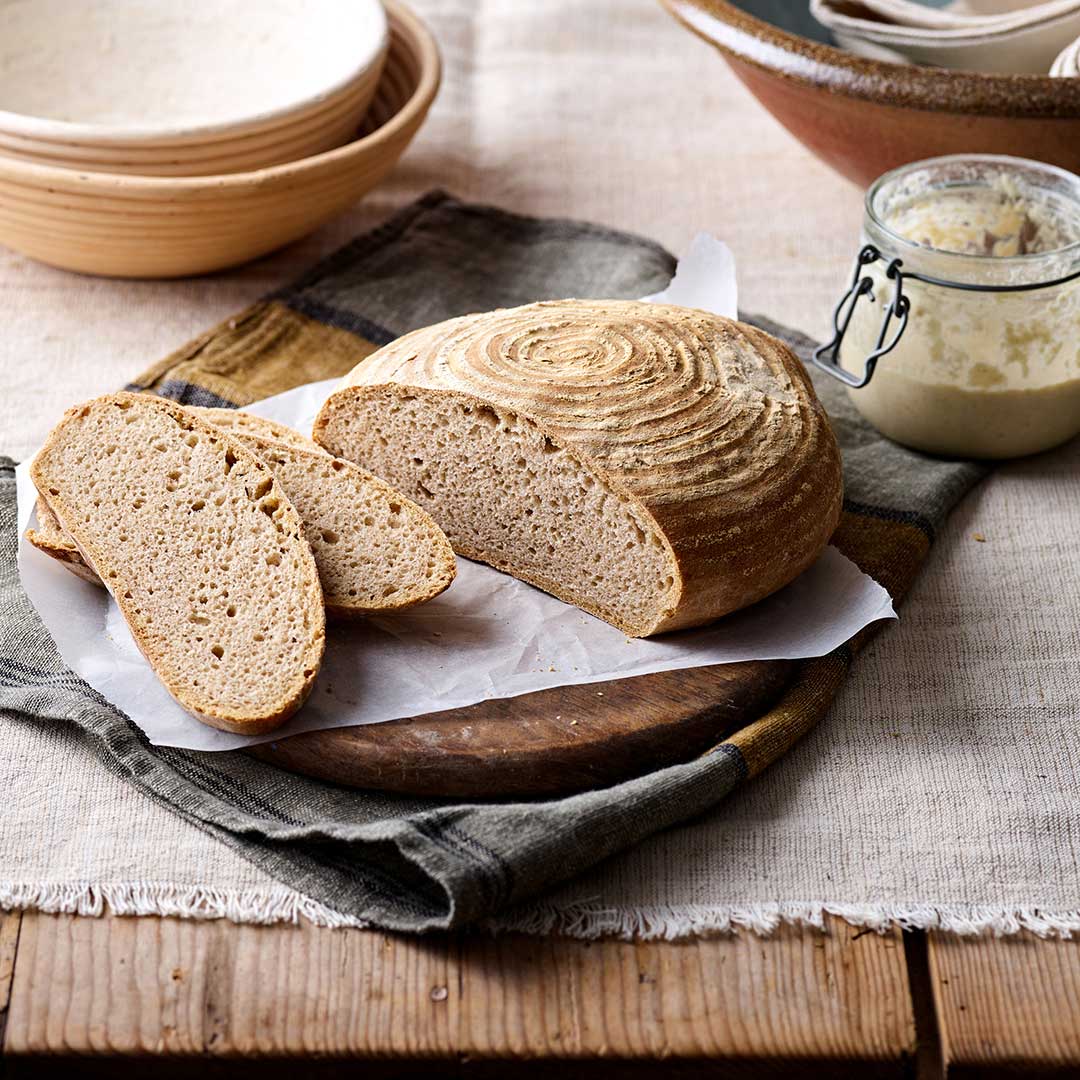
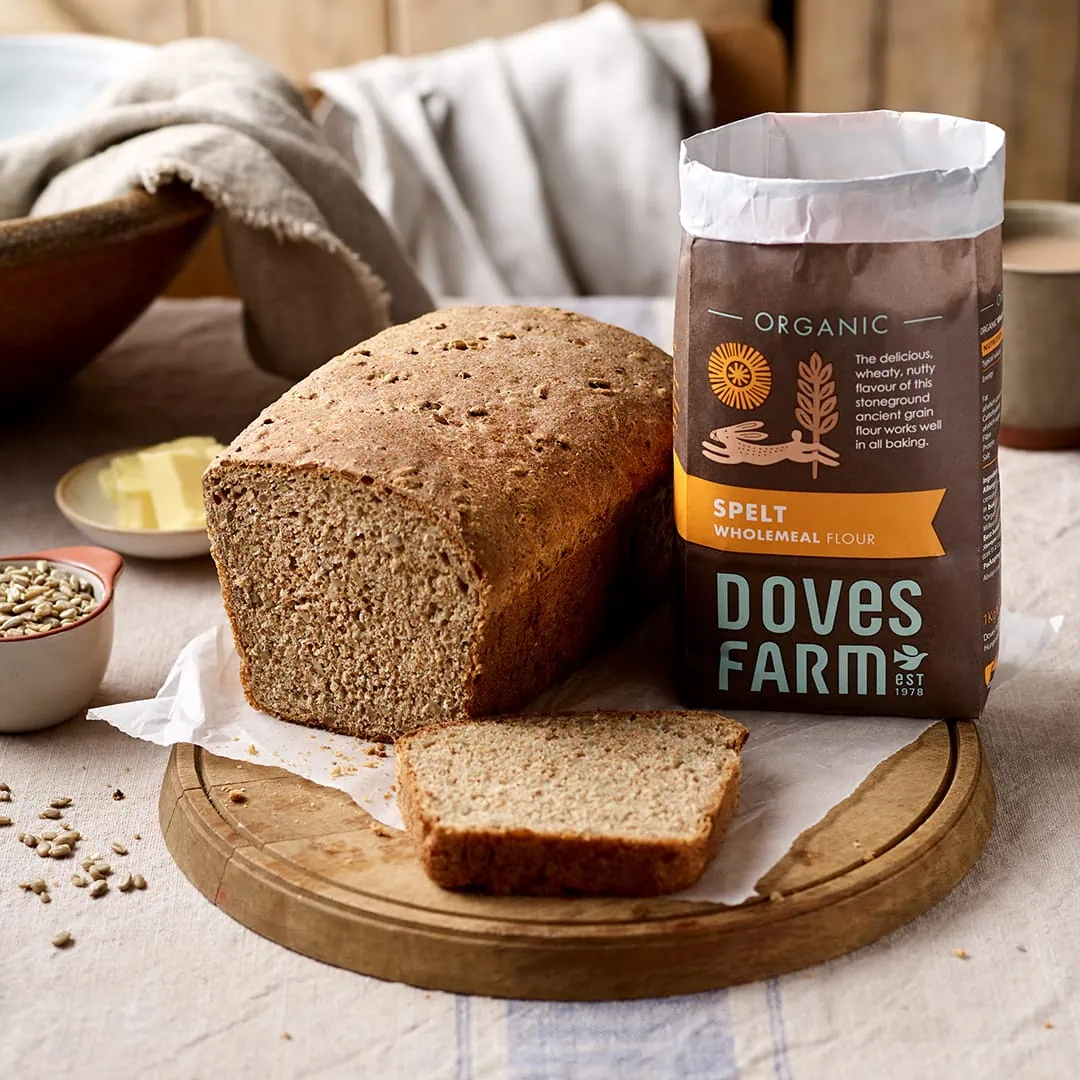
Heritage Seeded Sourdough Bread Loaf
No reviews yet. Be the first to review this recipe.

About this recipe:

Delicious Heritage Seeded Sourdough Bread Loaf recipe! Create a new starter for this tasty loaf or use your existing starter to make this super loaf using Heritage Seeded Flour. If you are new to sourdough baking, we recommend reading our sourdough guide and tracking your starter feeding stages, using our handy sourdough starter chart.
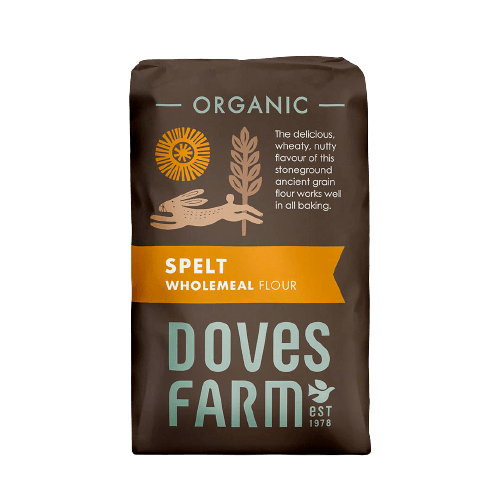
* Alternatively, use Organic Wholemeal Spelt or Organic Wholemeal Rye Flour*
Equipment:
500ml glass bowl, 2 x mixing bowls and 500g/2lb bread tin
Ingredients:
STARTER
8-10 tbsp Doves Farm Organic Heritage Seeded Bread Flour *
8-10 tbsp tepid water
FERMENT
50g starter (from above)
150ml tepid water
100g Doves Farm Organic Heritage Seeded Bread Flour *
DOUGH
200ml tepid water
300ml ferment (from above)
450g Doves Farm Organic Heritage Seeded Bread Flour
½ tsp salt
1 tbsp oil
oil, for tin
Method:
220°C, Fan 200°C, 425°F, Gas 7
Starter – use this handy chart to help you keep track of your feeding times.
- On the first day, put one tablespoon of flour and one of water into a 500ml glass bowl and mix together.
- Wet a clean tea towel, wring it out well, lay it over the bowl and leave in a warm place for about 12 hours.
- After the 12 hours have passed, add another tablespoon of flour and another of water, mix together, cover with the damp tea towel and leave for another 12 hours.
- On day two (24 hours since beginning your starter), stir in a third tablespoon of flour and a third spoon of water, stir to mix, cover again with the damp tea towel and leave in a warm place for 12 hours.
- For the second feed of day two, add a tablespoon of flour and one of water, stir to mix, cover with the damp tea towel and leave in a warm place for 12 hours.
- For the first feed of day three (36 hours since beginning your starter), increase the feed by adding two tablespoons of flour and two of water, stir to mix. Re-dampen the tea towel, if necessary, lay it over the bowl and leave in a warm place for 12 hours.
- On the second feed of day three, add two tablespoons of flour and another two of water, mix together, cover loosely and leave for another 12 hours.
- At this point your starter should be bubbly and ready to create your ferment. If the starter is not showing bubbles, repeat the 12-hour feed and water routine, and ensure the starter is kept in a warm place.
Ferment
- Once your starter is bubbly, stir the starter and then measure 50g of the starter into a large mixing bowl.
- Pour 150ml tepid water into the bowl and stir until lump free.
- Add 100g flour and stir to make a smooth paste.
- Invert a larger mixing bowl over the dough bowl and leave in a warm place for 4-12 hours until bubbles appear. When bubbly, your ferment is ready to use (you can either dispose of any unused starter after bread making or keep and feed it regularly until your next baking session).
Dough
- Rub some oil around the inside of a 500g/2lb bread tin.
- Pour the tepid water into the ferment and mix well.
- Add the flour to the ferment and stir to mix.
- While the dough is still craggy and lumpy, stir in the salt.
- Using your hands gather everything together, gently pressing into a sticky ball of dough.
- Sprinkle the oil over the dough ball.
- Knead the dough in the bowl for 100 presses without adding flour.
- Shape the dough and put it into the tin.
- Invert a large bowl over the tin and leave in a warm place until the dough has risen to the top of the tin, which may take 4– 12 hours.
Baking
- Pre-heat the oven 20 minutes before you are going to bake.
- Remove the upturned bowl and transfer the bread tin to the oven.
- Bake for 35-40 minutes until golden brown.
- Tip the bread out onto a wire rack and leave to cool.
Click this link to find a handy Sourdough Starter Chart which when printed has space for you to enter the day and time that you feed your starter with flour and water and to help monitor progress.
This Guide to Sourdough Making contains lots of hints and tips for successful sourdough bread making.
Shop This Recipe:
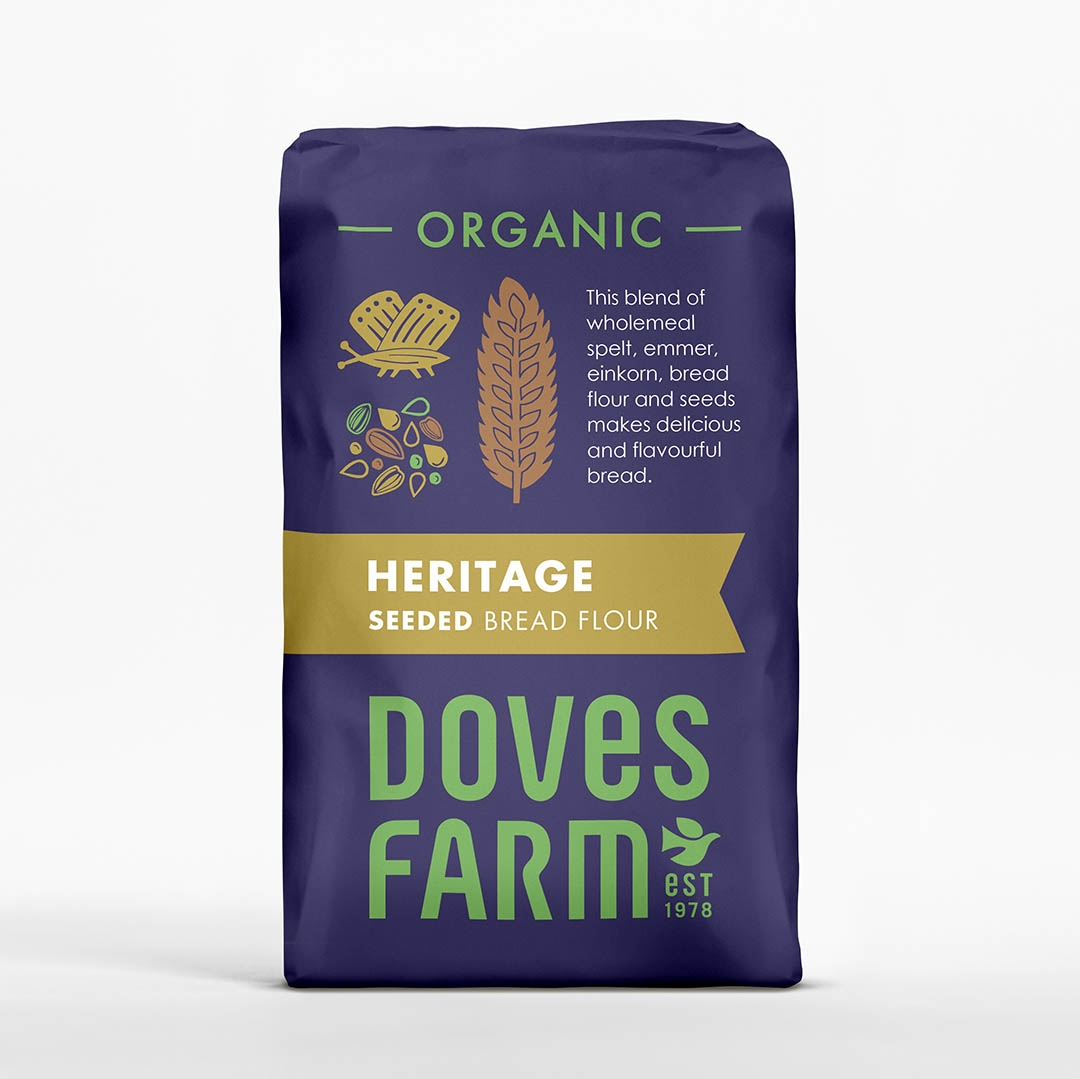
Bread Flour
View Category


Related Product Categories
Shop our full range
Leave a review?
YOU MAY ALSO LIKE


Leave a Reply