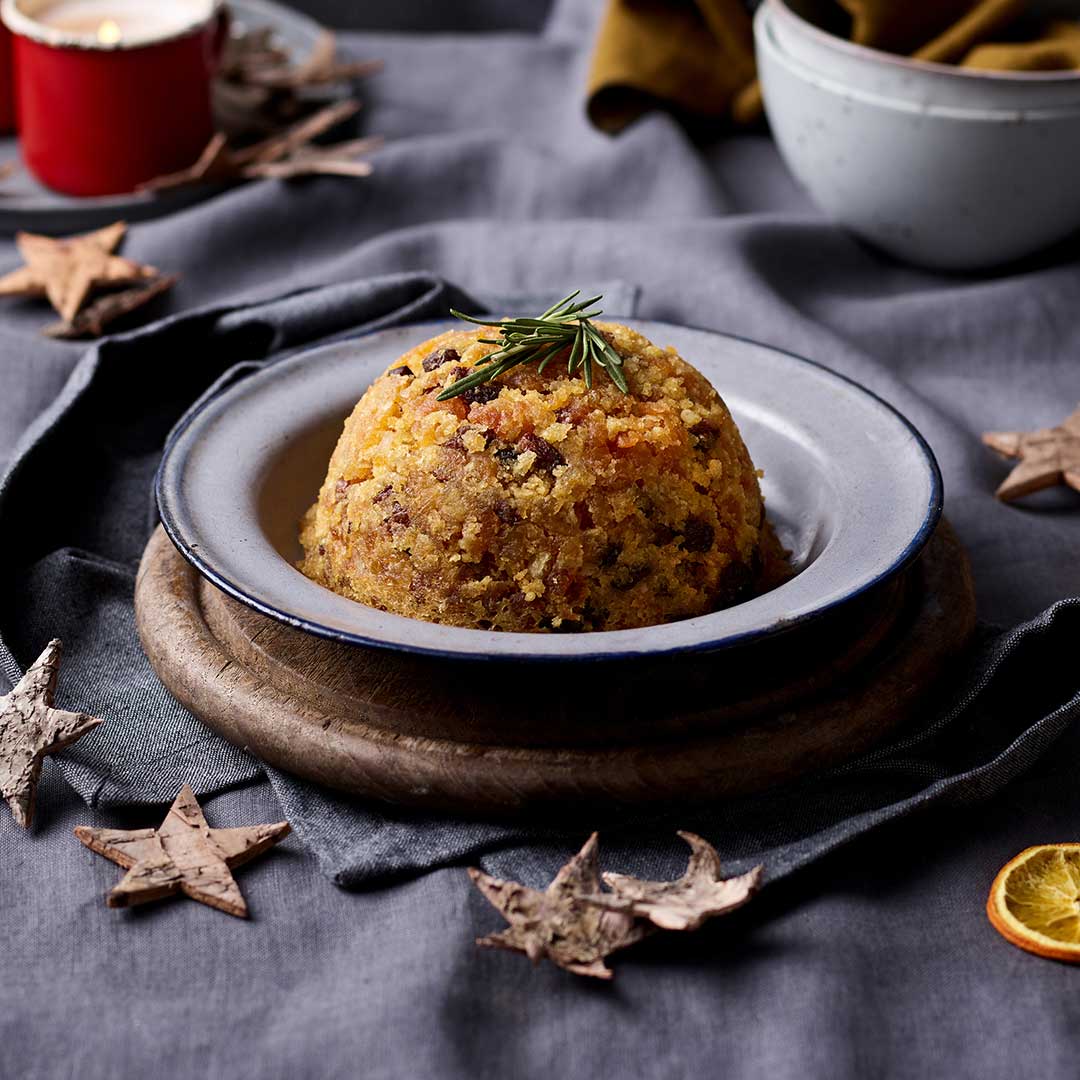
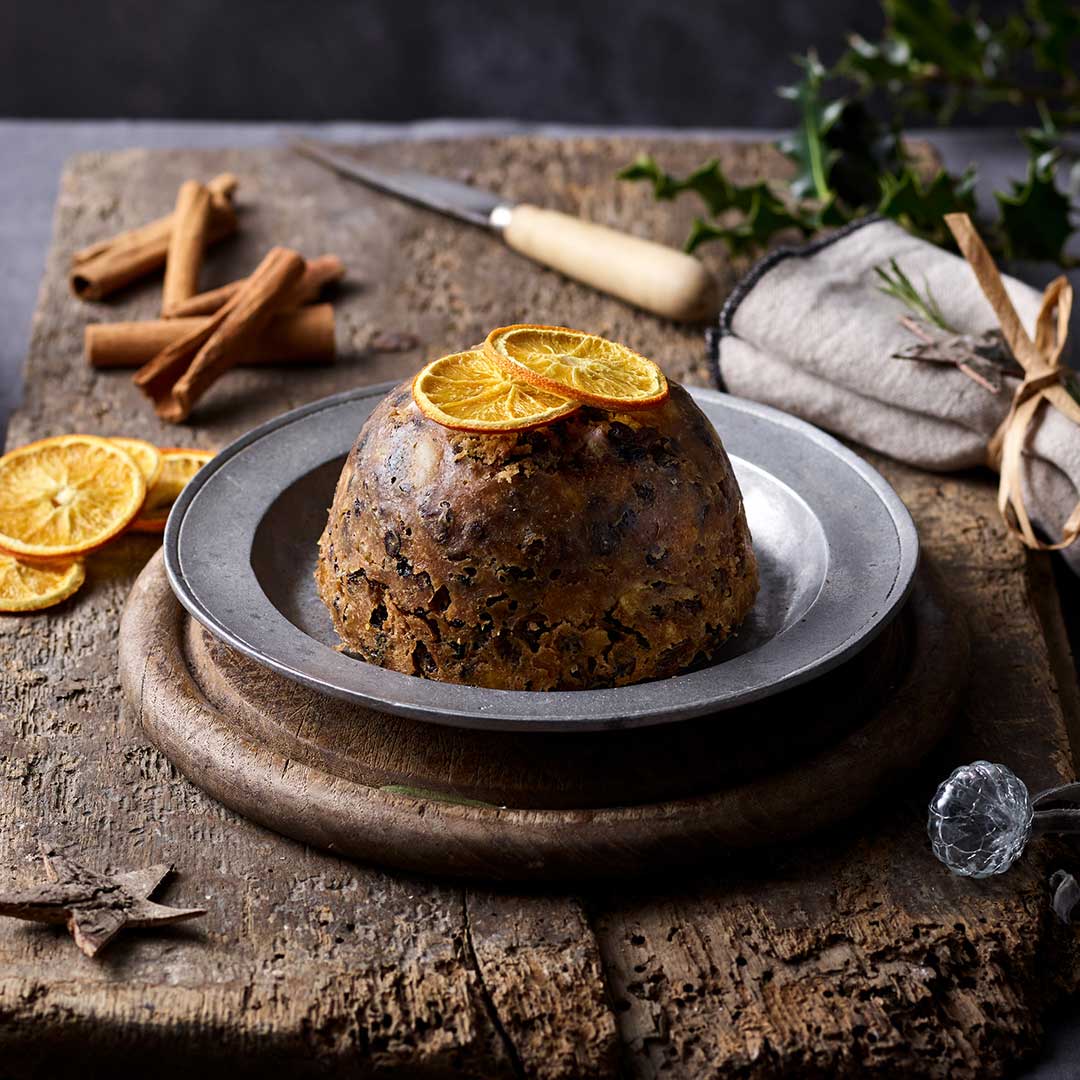
Golden Christmas Pudding

About this recipe:

Cooked in the traditional pudding basin, this lovely, light, fruity pudding is a nice alternative to the traditional Christmas favourite. It is golden in colour and is ideal for those wanting to be on the lighter side of tradition when it comes to pudding. Use left-over bread to make your own breadcrumbs.
Equipment:
1.1lt/2pt pudding basin, large saucepan or microwave, parchment paper, kitchen foil, mixing bowl, blender, heatproof serving plate and small saucepan for flaming
Ingredients:
PUDDING
200g dried apricots
75g butter – melted
1 orange – grated rind
100g caster sugar
1 tsp mixed spice
2 tbsp orange liqueur or fruit juice
2 tbsp orange juice
1 egg
100g sultanas
50g mixed glacé peel
50g breadcrumbs
25g Doves Farm Organic Self Raising White Flour
butter, for basin
fresh rosemary, to decorate
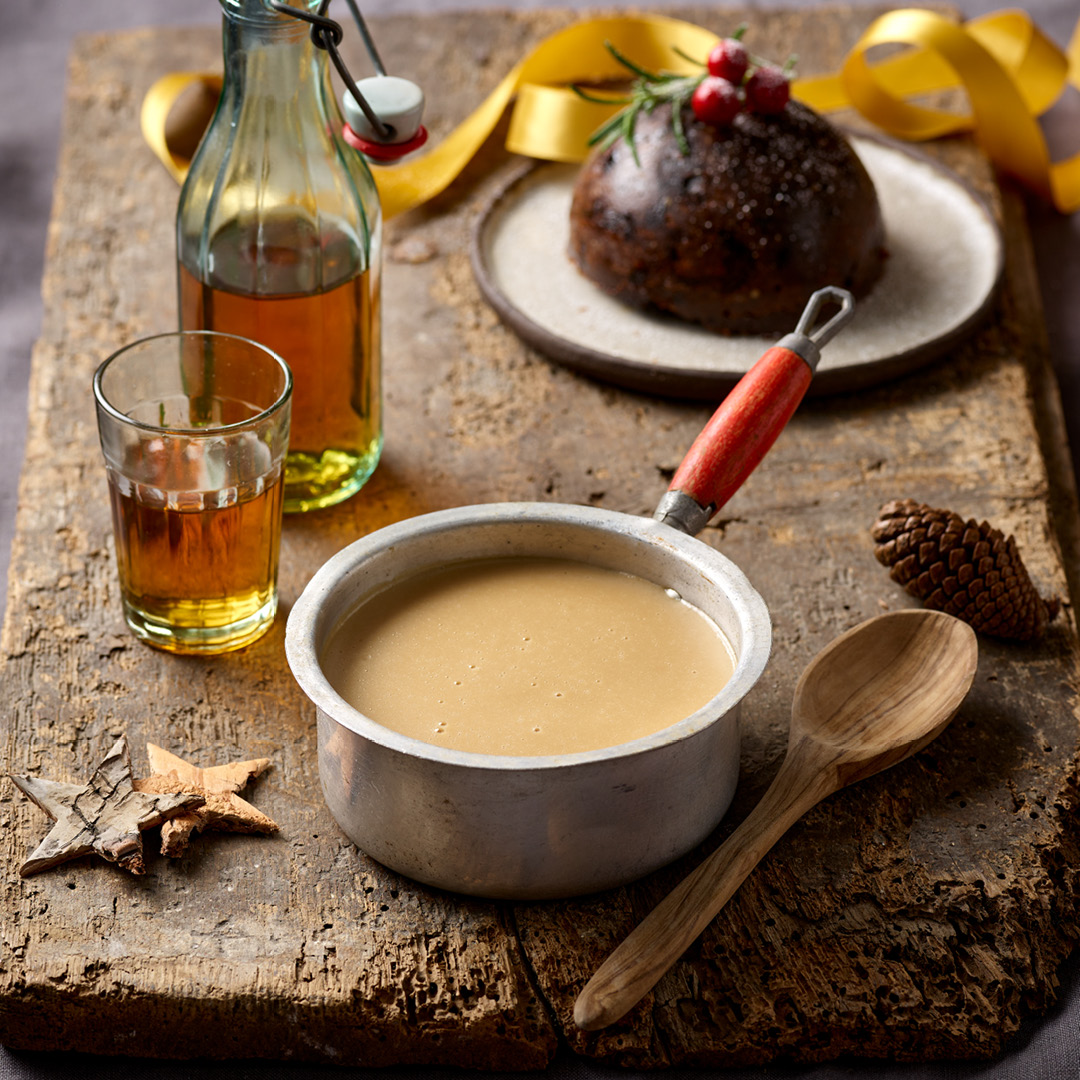
cream, to serve
TO FLAME CHRISTMAS PUDDING
3 tbsp brandy or rum
Method:
Pudding
- Rub some butter generously around the inside of a 1.1lt/2pt pudding basin.
- Cut two circles of parchment paper to fit inside the top diameter of the basin.
- Put the apricots into a blender and pulse until they are the size of peas.
- Melt the butter.
- Finely grate the orange rind into the blender bowl, add the sugar, mixed spice, melted butter, orange liqueur, orange juice and egg.
- Pulse to combine.
- Add the sultanas, glacé peel, breadcrumbs, flour and stir until well mixed.
- Tip the mixture into the prepared pudding basin and smooth the top.
- Press the circles of parchment paper onto the top of pudding.
Cooking the Pudding in a Saucepan
- Cover the basin with kitchen foil, tucking it in well over the outer rim.
- Stand the pudding in the bottom of a large pan and add boiling water until it comes halfway up the pudding basin.
- Put the lid on the pan and simmer gently for 2 hours. Lift the lid occasionally and add more boiling water to keep the level halfway up the pudding basin.
- Once cooked, allow the pudding to cool without removing the kitchen foil and parchment.
- Store the pudding in a cool dark place for up to two months and re-heat to serve.
Cooking the Pudding in a Microwave
- Cover the pudding with cling film and cut a hole in the top for steam to escape.
- Cook on high power (800w) for 3 minutes, leave to stand for 3 minutes and cook for a further 3 minutes.
- Allow the pudding to cool completely.
- Remove the cling film and cover the basin tightly with kitchen foil.
- Store the pudding in a cool dark place for up to two months and re-heat to serve.
Re-Heating the Pudding in a Microwave, Hob or in The Oven
| Microwave | Hob | Oven | |
| Preparation |
Remove the kitchen foil, check the pudding is in good condition and replace the parchment paper. Re-cover the pudding loosely with cling film, which will allow steam to escape. |
Remove the kitchen foil, check the pudding is in good condition and replace the parchment paper. Re-cover the pudding dish loosely with kitchen foil, tucking it in well at the outer rim. |
Remove the kitchen foil, check the pudding is in good condition and replace the parchment paper. Re-cover the pudding dish with kitchen foil, tucking it in well at the outer rim. |
| Method | Put the pudding(s) into the microwave and close the door. | Stand the pudding(s) in the bottom of a large pan and add boiling water until it comes half way up the pudding dishes. | Stand the pudding(s) in the bottom of a deep oven dish and add boiling water until it comes half way up the pudding dishes. |
| Temperature | Turn the microwave to full power (800w). | Set the hob control for gentle simmering. | Pre-heat the oven to 180C, Fan 160C, 350F and Gas 4. |
| Time | Cook for 3 minutes then leave to stand for 2 minutes. | Put the lid on the pan and simmer gently for 60 minutes. | Cover the oven dish with a lid or kitchen foil and bake in the hot oven for 60 minutes. Check and refill the hot water half way if needed. |
| Serving |
Carefully remove the pudding dish(s) from the microwave. Remove the cling film and parchment paper. Run a warm knife around the inside edge of the bowl. Put a warm plate on top of the pudding basin, carefully invert the pudding and let it slide onto the plate. Keep the pudding warm until serving with a sprig of fresh rosemary on top. |
Carefully remove the pudding dish(s) from the saucepan of hot water. Remove the kitchen foil and parchment paper. Run a warm knife around the inside edge of the bowl. Put a warm plate on top of the pudding basin and let it slide onto the plate. Keep the pudding warm until serving with a sprig of fresh rosemary on top. |
Carefully remove the pudding dish(s) from the dish of hot water. Remove the kitchen foil and parchment paper. Run a warm knife around the inside edge of the bowl. Put a warm plate on top of the pudding basin and let it slide onto the plate. Keep the pudding warm until serving with a sprig of fresh rosemary on top. |
| How to Flame a Christmas Pudding |
1. If flaming the pudding remove the sprig of rosemary. |
||
Shop This Recipe:

Related Product Categories
Shop our full range


Leave a review?
Leave a Reply
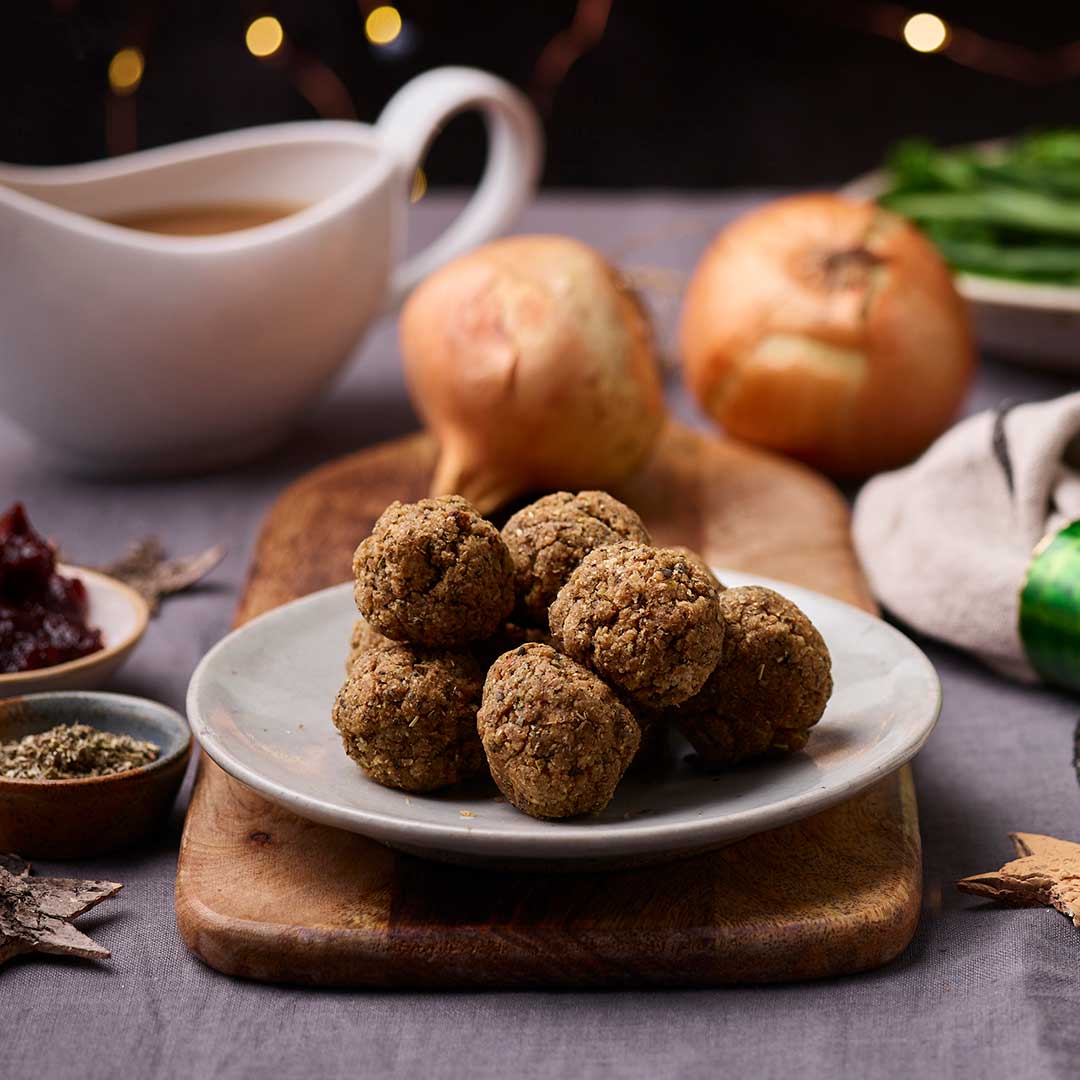
YOU MAY ALSO LIKE


Dee
Followed the recipe to the letter and the result was delicious!
Reviewing: Golden Christmas Pudding
Kim
I made three of these for the first time last year, and highly recommend - light, fruity and delicious, it’s the only Christmas pudding I will ever make from now on! We don’t much like candied peel, so I just use extra mixed dried fruit and it is perfect.
Reviewing: Golden Christmas Pudding
Dee
Making this Golden Christmas Pudding again this year! Made two last year - gifted one to my daughter - she has requested another for this year! Would highly recommend. Thank you.
Reviewing: Golden Christmas Pudding
Sara Bishop
This pudding has become my go to for Christmas and other winter events. It’s light but warming and very moreish! I sometimes vary the fruit slightly, using a mixture of sultanas and dried cranberries for an extra Christmassy touch.
Reviewing: Golden Christmas Pudding
Rachael Charmley
This is certainly the most delicious Christmas pud we have ever tasted. It is light, juicy and tangy and leaves guests wanting more. This delightful pudding is lovely, and could easily become a tradition in our family. I look forward to making more next year!
Reviewing: Golden Christmas Pudding
Nikki
A new Christmas tradition was created last year when I first made this! It was so popular, I made a few more throughout the year to brighten up our various lockdowns. Tasty, light and very moreish, a fantastic alternative to a traditional pud.
Reviewing: Golden Christmas Pudding