25-30 minutes
1 wheatsheaf loaf
Dairy,Nuts
Vegetarian
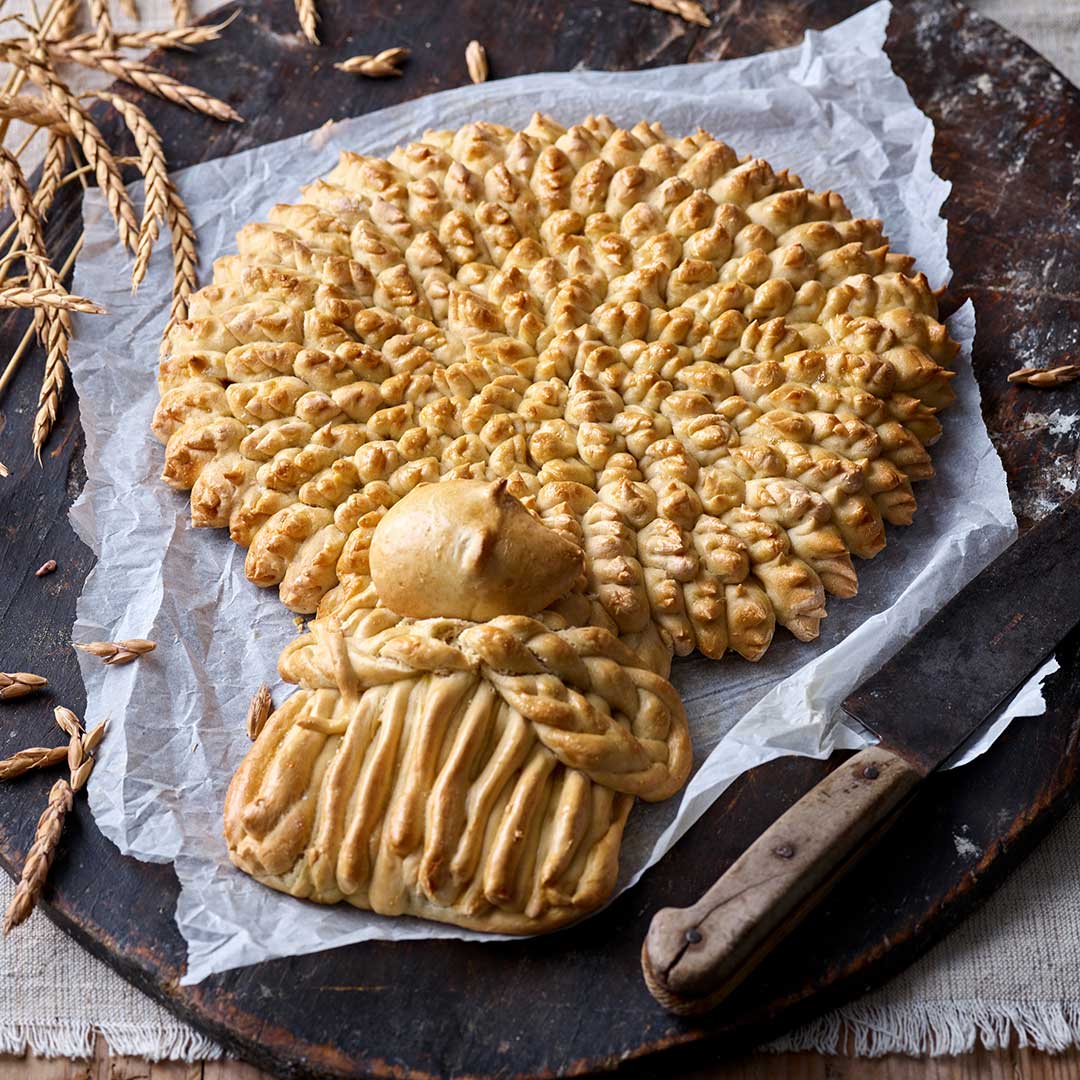
Harvest Wheatsheaf
25-30 minutes
1 wheatsheaf loaf
Dairy,Nuts
Vegetarian

About this recipe:

Create this wonderful centre-piece at harvest time. The dough has less yeast than normal bread dough which will delay the rising while you assemble it. Making this can be a fun activity for children and you can either eat it after the first cooking or preserve it with further cooking.
Equipment:
large baking tray, scissors and mixing bowl
Ingredients:
500g Doves Farm Organic Strong White Bread Flour
½ tsp Doves Farm Quick Yeast
1 tsp sugar
½ tsp salt
300ml tepid water
1 egg
water, for brushing
Method:
200°C, Fan 180°C, 400°F, Gas 6
- Pre-heat the oven.
- Line a large baking tray with a baking liner or parchment paper.
- Put the flour, yeast, sugar and salt into a large bowl and blend them together.
- Stir in the water.
- Using your hands, gather everything together into a doughy mass.
- Knead the dough until it feels smooth and pliable.
- Divide the dough into three pieces.
- Lightly dust the work surface with flour, put one piece of dough in the middle and sprinkle lightly with flour.
- Roll the dough into a rectangle, the size of your baking tray.
- Cut out a large mushroom shape with a long stalk.
- Gather the dough off-cuts together and roll them into a ball for use later.
- Transfer the dough mushroom onto the baking tray, keeping its mushroom shape.
- Brush water all over the dough.
- Put the second piece of dough on the lightly floured work surface and cut it into 30 equal pieces.
- Roll each piece into a 23cm/9” length.
- Lay the dough lengths onto the mushroom shape to create the stalks of the wheatsheaf.
- Take the third piece of dough and cut it into three pieces.
- Roll each into a long thin cylinder, then cut each one into twenty small lengths which will form the ears of wheat.
- Working inwards from the outer edge quickly press the end of each small length onto the round part of the mushroom shape.
- Using scissors, make several snips into the end of each small dough length to create the impression of grains in an ear of wheat.
- Take the dough off-cuts, and divide them into three pieces.
- Roll each piece into a 25cm/10” length.
- Plait the dough lengths together.
- Brush the middle of the ‘wheat stalks’ with water and lay the plait across them to create the impression of string around the sheaf.
- If you have any remaining dough form it into a mouse, brush the underside with water and place it on the wheatsheaf.
- Beat the egg well and brush it all over the dough.
- Bake immediately for 25-30 minutes.
Preserving the Wheatsheaf
If you plan to keep the wheatsheaf as a decorative item, lower the oven temperature to 140°C, Fan 120°C, 275°F, and bake for a further 3-5 hours. When quite cold you could brush the wheatsheaf with varnish.
Shop This Recipe:


Related Product Categories
Shop our full range


Leave a review?
Leave a Reply
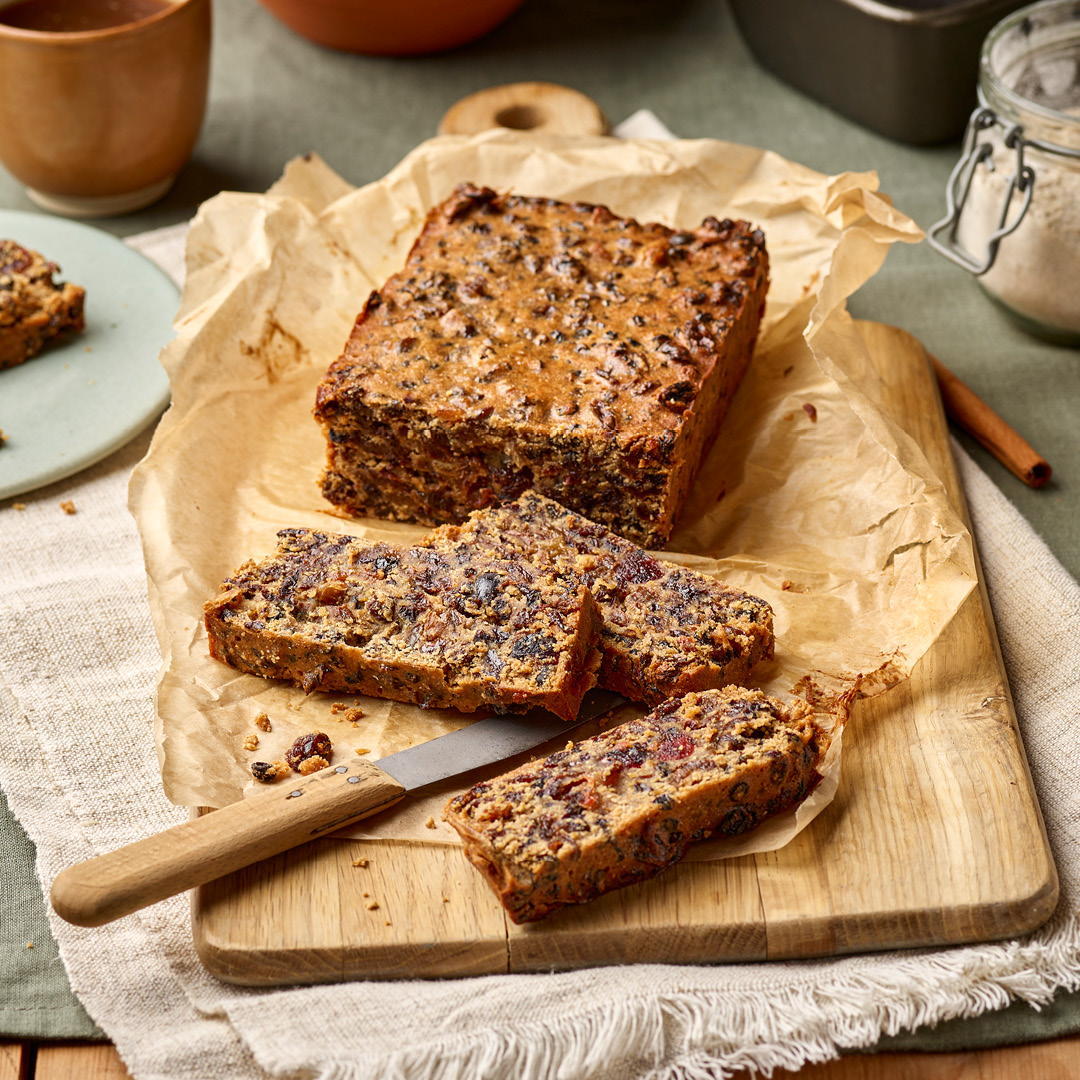
YOU MAY ALSO LIKE


Eileen Wright
Made this from your recipe and it worked wonderfully - just like your photo. Glad I had photo to help me understand instructions. The scissor cutting to make grains really was effective! Used in Harvest decoration for church and going to keep for years to come! Thanks so much for your organic products and fabulous recipes - can’t wait to try lots more!
Reviewing: Harvest Wheatsheaf
Steve Sinclair
First class, I have been making these Wheatsheafs for several years in various schools. The fun begins when you empty 3 bags of flour directly onto the table in front of all the class! and then proceed to make the dough before there eye's! Yes it's hard work, yes in can be messy, but its fun and engages the class from the very beginning. So if you are tempted to try, go for it! The mess will clean up, but the memories will remain for years. Good luck everyone, no excuses.
Reviewing: Harvest Wheatsheaf
Paul
I have made a few of these today with my Year 6 class and I am so impressed with the results. Easy to follow instructions and fantastic looking wheatsheafs. The children especially loved making the mice.
Reviewing: Harvest Wheatsheaf
Hywel
For context I am in my mid twenties and have not baked anything since I was in school aged 12. I found this recipe really simple to follow and I made a great sheaf loaf as a result! Absolutely chuffed with is and and really recommend.
Reviewing: Harvest Wheatsheaf
Mr Simon Wilson
Worked well - very pleased with the results. Probably the best recipe I've used. https://quercuscommunity.com/2016/09/14/wheatsheaf-loaves/
Reviewing: Harvest Wheatsheaf
Mrs Esme Black
Please can you advise the temperature of the oven if you are cooking the sheaf for five hours
Reviewing: Harvest Wheatsheaf
Mrs Maureen Greenwood
Thank you for this recipe it has made an Absolutely perfect sheaf ! Well I'm very happy with my efforts and this is the first one that I have made ! I shall be coming back to you for more recipes etc xx
Reviewing: Harvest Wheatsheaf
Mrs Maureen Greenwood
Well I have just completed the sheaf and I will now pop I into the hot oven and I will return with the results !! Fingers crossed xx it is for the Harvest Festival at St Paul's Church tomorrow morn !! Gulp I hope, it will be fine,"!?
Reviewing: Harvest Wheatsheaf