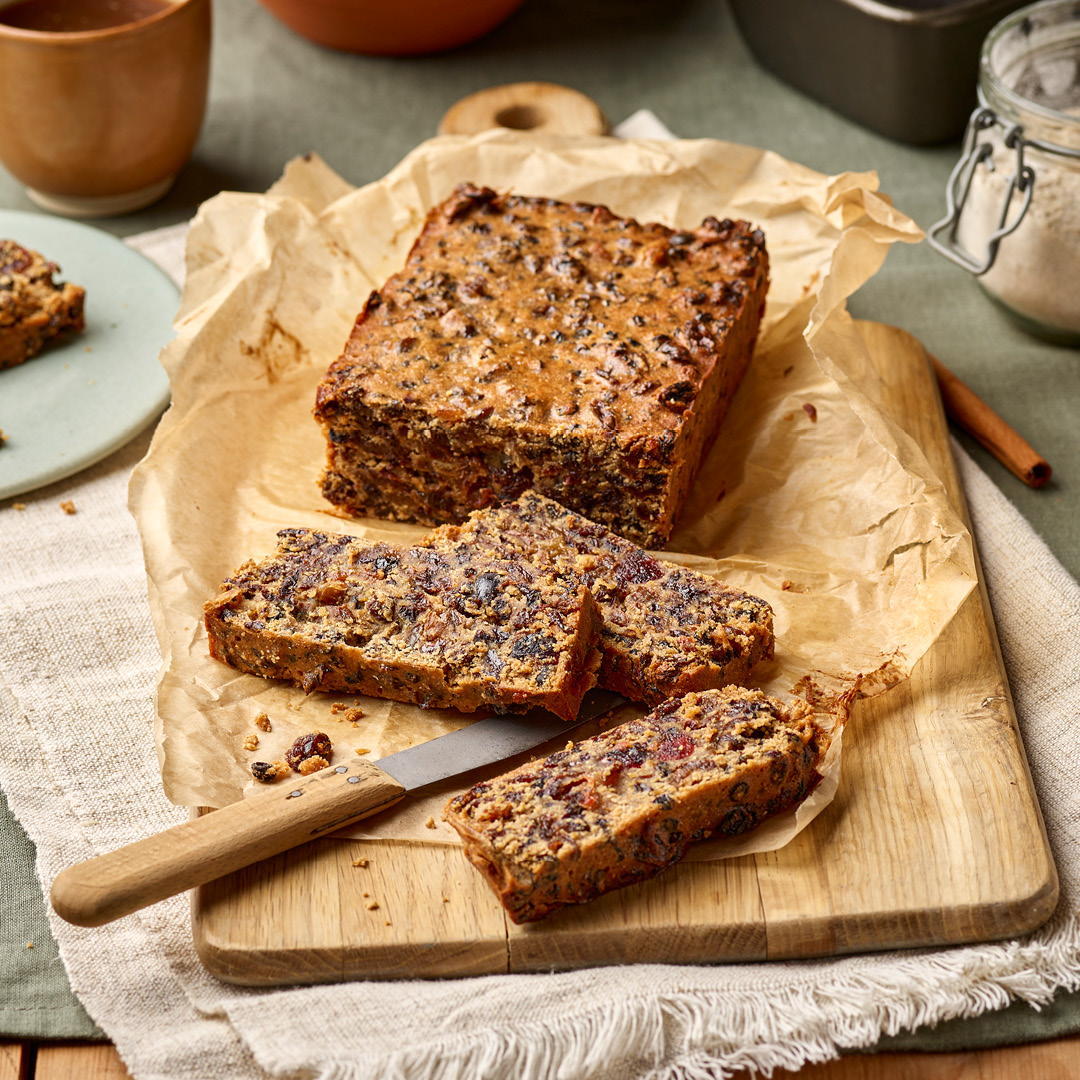
We hope you will come to love bread making as much as we do at Doves Farm. From wholemeal bread loaves to simple soda bread and sourdough, there is a world of great bakes to discover.
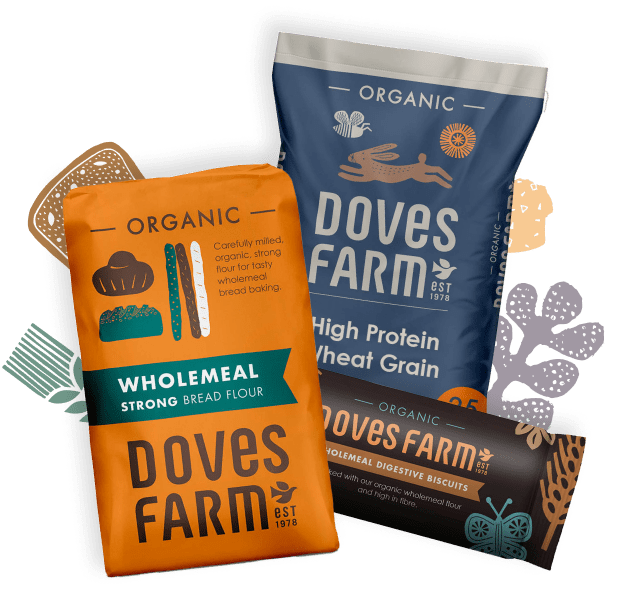
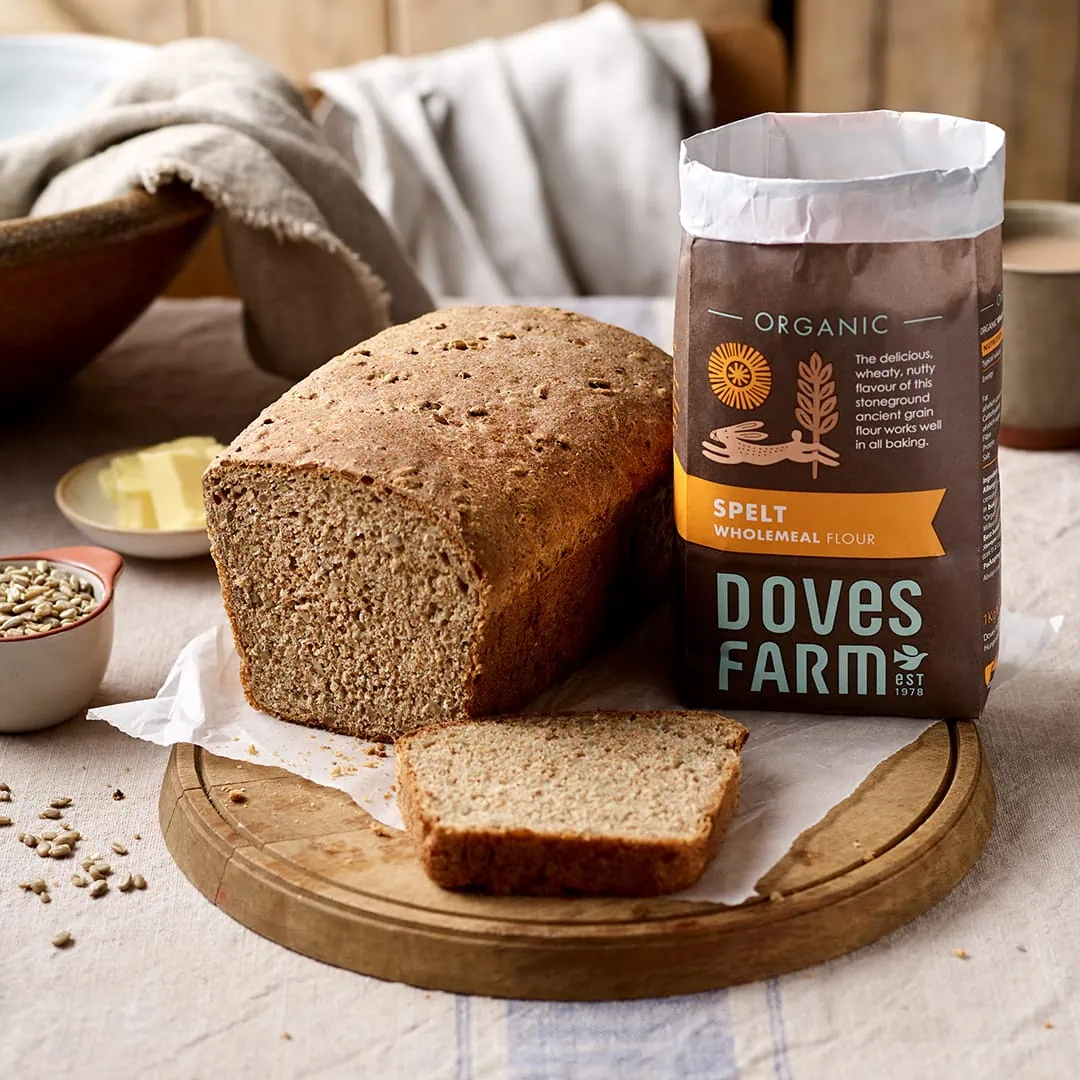
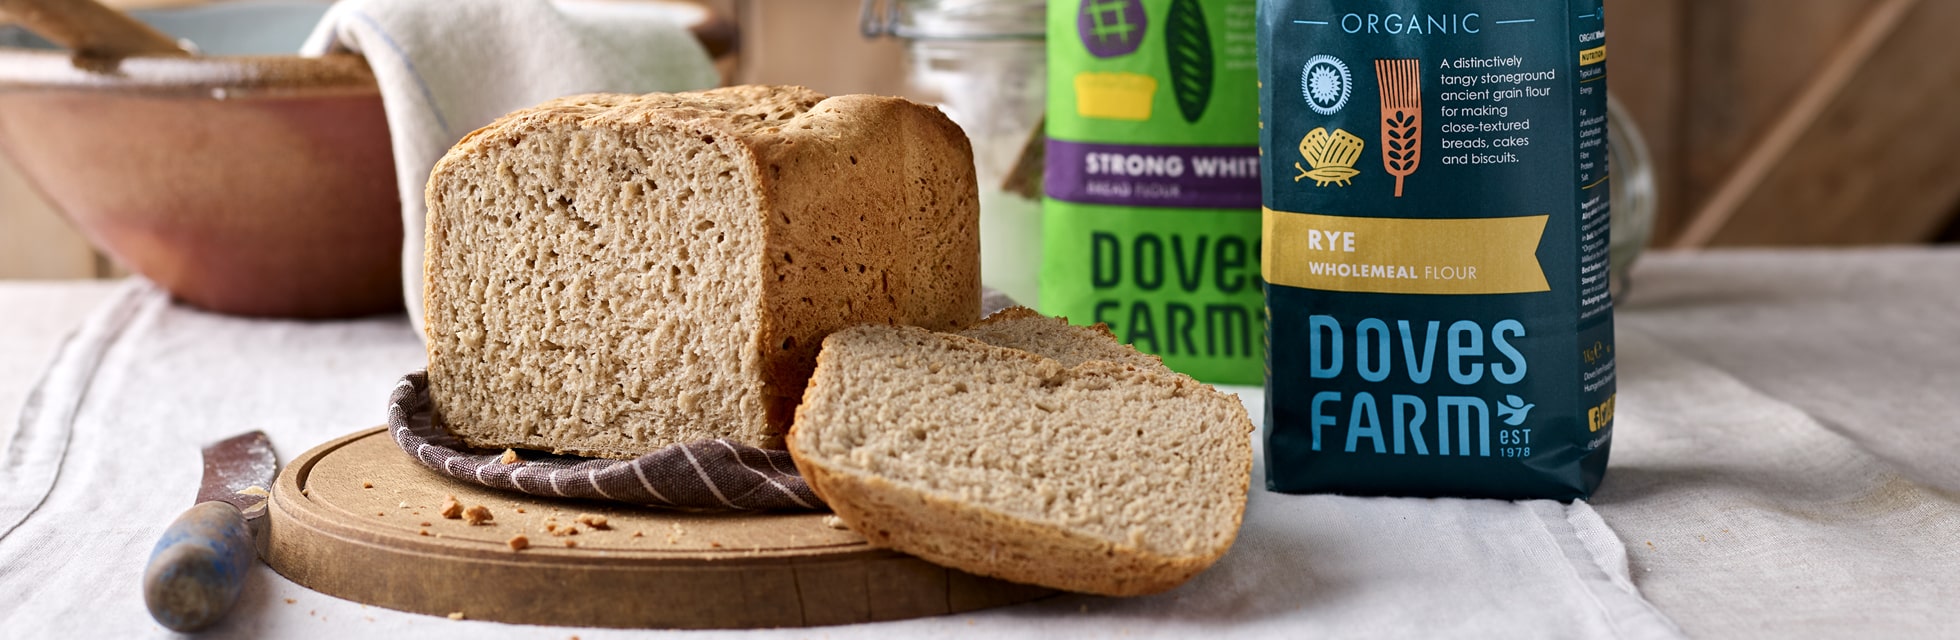
Bread flours are the best choice for bread making although you may enjoy the wonderful flavour of bread baked with our more unusual flours such as Malthouse Flour, Wholemeal Spelt Flour, White Spelt Flour and Heritage Seeded Flour. Or find out more about Baking in a Bread Machine.
Baking using a bread machine? Read our guide
Our top tips on how to get the best from your bread baking are;
- Gather all your ingredients together before starting to follow your recipe so you can check you have the correct quantity of everything you need.
- For best results weigh and measure your ingredients accurately.
- For successful yeast and bread cookery, bake in a warm kitchen without an open window which could cause an unwanted draught and deflate your dough.
- Avoid adding flour when kneading dough unless it is essential.
- A really sticky or enriched dough can be kneaded by lifting and folding with a pastry scraper.
- To create the ideal environment for your rising dough, cover it with an upturned bowl.
- Leaving your dough to rise overnight or in the fridge can help develop flavour and texture.
- To tell if a loaf is cooked, tip it out of the tin. The loaf will be cooked if the bottom sounds hollow when tapped.
- Think about making double the recipe quantity which will produce two lovely loaves without much more effort.
Mixing bread dough can vary from bake to bake depending on your ingredients, the recipe, the tin and the ambient temperature. If sometimes your baking intentions don’t go according to plan these helpful notes could help you rescue your lovely bread. Common challenges are: the dough is not rising, the dough is feeling hard, finding a skin on the dough, the dough seems wet and sticky or the dough has overflowed the mixing bowl.
If you have challenges with your finished loaf, find out how to rescue your bake with one of these bread solutions; the bread over flowed in the oven, the bread collapsed in the oven, the bread has a muffin top or is burnt, the bread crust seems very thick, the bread has an uneven rise or didn’t rise, the top crust is loose or the loaf is stuck in its tin.
The dough has not risen
Possible Cause
- The water was too hot and has deactivated the yeast. For future bakes use tepid water at 37°C/100°F to make your dough; one third warm water to two thirds cold water.
- The ambient temperature is cool and slowing down the action of the yeast. You can do this intentionally by overnighting the dough in the fridge.
- There has been an ingredient error and the yeast was not added to the bowl. It happens!
How to rescue dough that has not risen
Move the dough to a warmer place and give it more time to prove. If it still doesn’t rise there has been an ingredient error or the yeast has been de-activated. You could salvage the uncooked dough by adding herbs and rolling into bread stick shapes, then baking on an oiled baking tray in a hot oven for 8-10 minutes.
The bread dough feels hard or has got harder as I knead.
Possible Cause
- Flour will continue to absorb water as the dough is kneaded and may not be sufficiently hydrated for a manageable dough.
- The natural gluten in flour can develop strength and elasticity as the dough is kneaded.
How to rescue a hard dough
Spray or sprinkle the dough lightly with water and knead until this has been absorbed, repeating this until the dough has become manageable.
There is a thick skin on the top of my rising dough.
Possible Cause
- Dough that has been left to prove for a long time can dry out and form a crust on the top. For future bakes invert another mixing bowl over the dough while it is proving.
How to rescue dough with a skin on top
If there is only a very light crust on the dough it can be kneaded back into the dough. Remove thick or hard crusty dough using a knife or scissors. Crusty off-cuts of uncooked dough can be rolled into bread stick shapes, and baked on an oiled baking tray in a hot oven for 8-10 minutes.
The dough seems wet and sticky.
Possible Cause
- A wet and sticky dough usually becomes less sticky as the flour absorbs the liquid when kneaded and the natural gluten strands develop, say for 100 presses.
- Adding extra flour to a sticky dough can result in a heavy loaf.
- Dough which has been enriched with egg, oil or butter is very likely to be sticky and should be worked according to the recipe without adding extra flour.
- An ingredient error could be the cause of a wet and sticky dough – for example too much liquid or too little flour.
How to rescue a wet and sticky dough
Continue with a light sprinkling of flour or add oil to the dough or your hands to make a sticky dough easier to handle. For enriched doughs use a dough scraper or dough attachment to help knead the dough.
The dough overflowed the bowl or tin while rising.
Possible Cause
- As a dough proves, it expands and grows in volume and if the bowl or tin was not large enough it can overflow. For future bakes use a larger bowl or saucepan that allows plenty of room for the dough to rise.
How to rescue dough that overflowed the bowl or tin
Scoop up the overflowed dough and, if clean and soft without a skin, add it back to the mixing bowl. Crusty uncooked dough can be rolled into bread stick shapes, and bake on an oiled baking tray in a hot oven for 8-10 minutes.
The dough collapsed when I put it in the oven or the loaf is like a brick – it has a dense, heavy texture.
Possible Cause
- The tin of risen dough was knocked or banged causing the loaf to deflate. For future bakes take care as you move risen dough into the oven.
- A dough that was not thoroughly kneaded or proved for long enough to activate the yeast and develop the gluten can fail to rise sufficiently, baking into a loaf with a dense crumb texture.
- If the oven is not hot enough the bread may set before it has had a chance to rise further in the oven. For future bakes pre-heat the oven 20 minutes before baking.
How to rescue bread that collapsed in the oven or has dense crumb
Continue to bake and cool your loaf. Slice and enjoy your loaf, accepting a closer textured crumb as it will taste great even if it did not have the intended texture or appearance. Lightly toasting slices of dense bread will slightly soften them or you could turn the bread into crumb and freeze a bag of bread crumbs to use another day.
The bread has overflowed the tin in the oven, has a muffin top or has burnt.
Possible Cause
- If there is insufficient room for dough to expand in the tin during baking, dripping out into the oven or overflow slightly causing a muffin top to the loaf. For future bakes check the tin size.
- An over-proved dough can expand more than anticipated and flow over the top of a tin. For future bakes check recipe and set a timer.
- A loaf left in the oven or a faulty oven can cause a loaf to burn.
How to rescue bread that has overflowed the tin or has a muffin top
If dough overflowed and dripped out of the tin, it will have cooked and might be edible as a crunchy snack.
Muffin top loaves often stick to the top of the tin so it will be important to turn the loaf out as soon as possible after baking. If it does not come out of the tin easily use scissors to cut away the muffin edges then carefully slide a knife around the inside edges of the tin to loosen the loaf, invert the tin and shake until the loaf slides out. The muffin edges might be edible as a crunchy snack.
Cut away and dispose of really burnt areas of the bread as soon as it comes out of the oven. If the whole loaf is burnt, allow it to cool completely, cut off all the crusts, slice and eat the inside or use the inside to make breadcrumbs.
The bread is stuck in the tin.
Possible Cause
- Forgetting to season a new pan, by brushing with oil and cooking in a hot oven before use, can lead to bakes sticking.
- An old tin or one with a worn and damaged surface, or insufficient oiling before baking can cause bread to stick. For future bakes avoid washing the tin with detergent, rub generously with oil or insert a baking liner before cooking.
- If the tin used is too small and the dough overflows in the oven it may burn, stick around the top of the tin or create a muffin top.
How to rescue bread that has overflowed the tin or has a muffin top
If your loaf has burnt or has a muffin top use scissors to cut away the edges, carefully slide a knife around the inside edges of the tin to loosen the loaf then invert the tin and shake until the loaf slides out. Once your loaf is sliced its appearance will be less obvious and it will taste delicious.
The top crust of the loaf is loose or there is an air hole under the top of the loaf.
Possible Cause
- As bread dough proves it creates natural CO2 gas that rises the loaf. If the bread proves for too long the gas can accumulate underneath the top crust, creating an air pocket and loosening the crust. This is known as a flying crust. For future bakes check the proving time in your recipe and adjust this if your kitchen is very warm.
How to rescue the bread with a loose top crust or flying crust
Allow the loaf to cool and the crust may still be attached to the loaf. If the top crust falls off, enjoy eating the crusty treat and continue to slice the loaf as normal.
The bread crust seems very thick and hard.
Possible Cause
- The surface of the dough dried out during proving. For future bakes cover the rising dough with an upturned bowl.
- Insufficient hydration of the bread dough during mixing could be the result of an ingredient error such as too much flour or not enough water. For further bakes check the recipe ingredients.
- The bread is over-cooked either because the oven was too hot or the loaf was in the oven for too long. For future bakes check the baking time and set a timer.
How to rescue the bread
If the bread is still warm, wrap the loaf in a clean tea towel and leave to cool.
The bread didn’t rise enough, is flatter than expected and seems heavy.
Possible Cause
- The shape and volume of a baking tin can dramatically affect the shape of your bake when it comes out of the oven. For future bakes check the shape and volume of your baking tin and if it matches the size given in your recipe instructions.
- A dough that has been left to rise in its tin for too long can over prove and be unable to rise further in the oven.
- Putting your loaf into an oven which has not come up to baking temperature, banging the bread tin as you put the loaf into the oven, or opening the oven door during cooking can cause a loaf to deflate and lose volume, to form a top crust which inhibits the dough below rising. For future bakes pre-heat the oven 20 minutes before baking.
- Adding too many extras to your loaf such as seeds, nuts or dried fruit will make it harder for the dough to rise. For future bakes, check your recipe and never add more than 20% of ‘extras’ than the weight of the flour.
How to rescue the bread that didn’t rise or look flat
Slice and enjoy your loaf, accepting a closer textured crumb as it will taste great with your favourite toppings and spread, even if it did not have the intended texture or appearance. Lightly toasting slices of dense bread will slightly soften them or you could turn the bread into crumb and freeze a bag of bread crumbs to use another day.
The loaf has risen unevenly or split at the side.
Possible Cause
- An underproved loaf will try to rise further in heat of the oven but if the top has already set, it can split at the edge or elsewhere. For future bakes check your recipe and watch the dough.
- An excessively hot oven can cause the outside of a loaf to set before the inner dough has finished rising, causing a split as the loaf expands. For future bakes check your recipe, oven and room temperature.
How to rescue a loaf that is split at the side
Many people find the split at the side of a loaf attractive and appealing. Allow the loaf to cool and enjoy your lovely fresh bread.
The loaf has a split or cracked at the top.
Possible Cause
- In a wet dough, steam can develop during cooking which combines with fermentation expanding the loaf until pressure inside splits the crust as the gases escape.
- in a dry dough, the outside can set very quickly with heat containing the fermentation gases until they burst out of the loaf during cooking, splitting the crust
How to rescue a loaf that has split at the top
A cracked or split crust can be an attractive feature of a home baked loaf. Lovely fresh bread is delicious.