No reviews yet. Be the first to review this recipe.
7-15 minutes depending on the thickness of your pasta
25-30 parcels
Nuts
Vegetarian
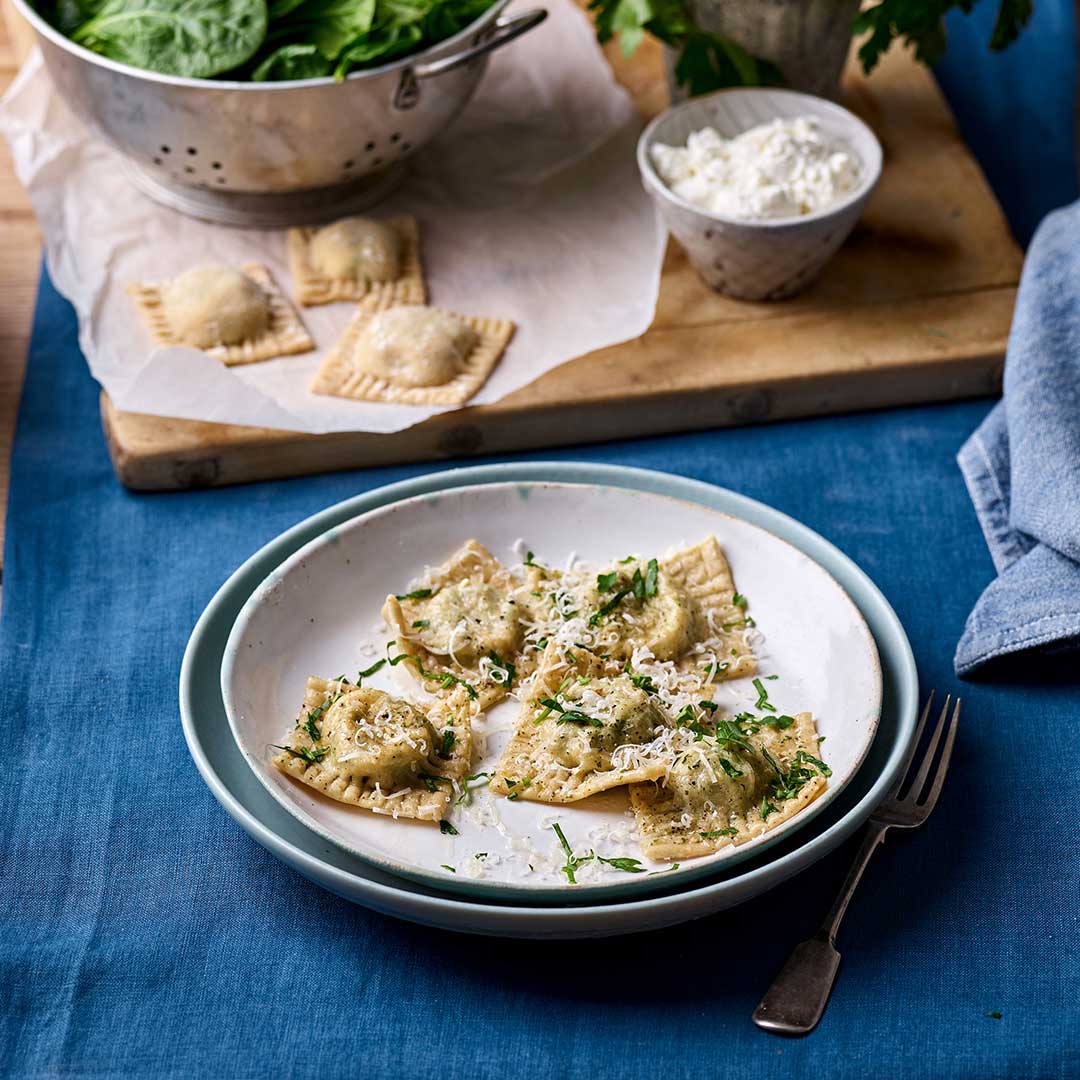
Pasta Flour Spinach and Ricotta Ravioli
No reviews yet. Be the first to review this recipe.
7-15 minutes depending on the thickness of your pasta
25-30 parcels
Nuts
Vegetarian

Equipment:

pasta machine or rolling pin, large 2lt saucepan, 2 x mixing bowls, large chopping board or tray
Ingredients:
SPINACH AND RICOTTA FILLING
150g cooked spinach, cold
100g ricotta
75g parmesan, grated
½ tsp ground nutmeg
salt and pepper
water, for brushing
PASTA DOUGH
160g Doves Farm Organic Pasta Flour
pinch of fine salt
3 eggs
flour, for dusting
TO COOK AND SERVE
2l water
1 tsp salt
olive oil
fresh parsley, chopped
parmesan, grated
Method:
Spinach and Ricotta Filling
- Put the cold, cooked spinach into a mixing bowl.
- Add the ricotta, parmesan, nutmeg, salt and pepper and stir to combine.
Pasta Dough
- Put the flour and salt into a mixing bowl and stir to combine.
- Break the eggs into the middle and beat them allowing a little flour to be incorporated each time you stir.
- Continue stirring the eggs as the flour mixes in, eventually forming a dough.
- Gather the dough together and knead it for 100 presses to make a smooth ball of dough, adding a little flour only if needed.
- Cover and leave the dough to rest for 15 minutes.
Ravioli Pasta Using a Rolling Pin
- Sprinkle flour over the table and rolling pin.
- Cut the pasta into eight pieces.
- Roll each piece of dough into a rectangle, turning it over regularly and dusting lightly with flour.
- Continue rolling the dough until it is 1mm/1/32” thick.
- Cut the dough sheets into 4x10cm/1½x4” rectangles and dust lightly with flour to stop them sticking.
- Repeat with all the pieces of dough.
Ravioli Pasta Using a Pasta Machine
- Dust the pasta machine and the table liberally with flour.
- Cut the dough into 8 pieces.
- Flatten each piece of dough and pass it through the widest, flat roller of a pasta machine to make a rectangle.
- Fold the rectangle in half to make a smaller rectangle and pass it through the roller two more times.
- Decrease the roller width 3 or 4 notches and pass each rectangle through a couple of times, to make longer rectangles. If the dough seems sticky, dust it with flour.
- Continue reducing the roller width until the pasta sheet is 1mm/1/32” thick.
- Cut the dough into 4x10cm/1½x4” rectangles and dust it lightly with flour to stop it sticking.
- Repeat with all the pieces of dough.
To Fill Spinach and Ricotta Ravioli
- Dust a large chopping board or tray with flour.
- Brush a little water around the edges of the small pasta rectangles.
- Transfer the rectangles to the flour dusted chopping board or tray.
- Put a small teaspoonful of spinach and ricotta filling in the middle of each rectangle.
- Lift one side of the rectangles over its filling, pressing around the filling to exclude air and joining the pasta joins at the edges.
- Using the back of a fork, press around the ravioli edges to ensure they are sealed.
- Dust the ravioli lightly with flour.
- Leave to dry for 1 hour and chill for up to 24 hours.
To Cook and Serve Spinach and Ricotta Ravioli
- Put the water and salt into a large 2lt saucepan and bring it to a rolling boil.
- Add the ravioli and stir to ensure it is free flowing in the water.
- Cook for 7-15 minutes, depending upon the size and thickness of the ravioli.
- Warm the serving dish.
- To test if the ravioli is cooked, carefully remove a piece from the pan, cut the pasta with the side of a fork and if the pasta resists, continue to cook, repeating the fork test every minute.
- When cooked drain the ravioli and return it to the cooking pan.
- Sprinkle with olive oil, stir gently and tip into the warm serving dish.
- Finely chop the parsley and scatter it over the ravioli.
- Serve immediately accompanied by a bowl of grated parmesan.
Shop This Recipe:
Related Product Categories
Shop our full range

Leave a review?
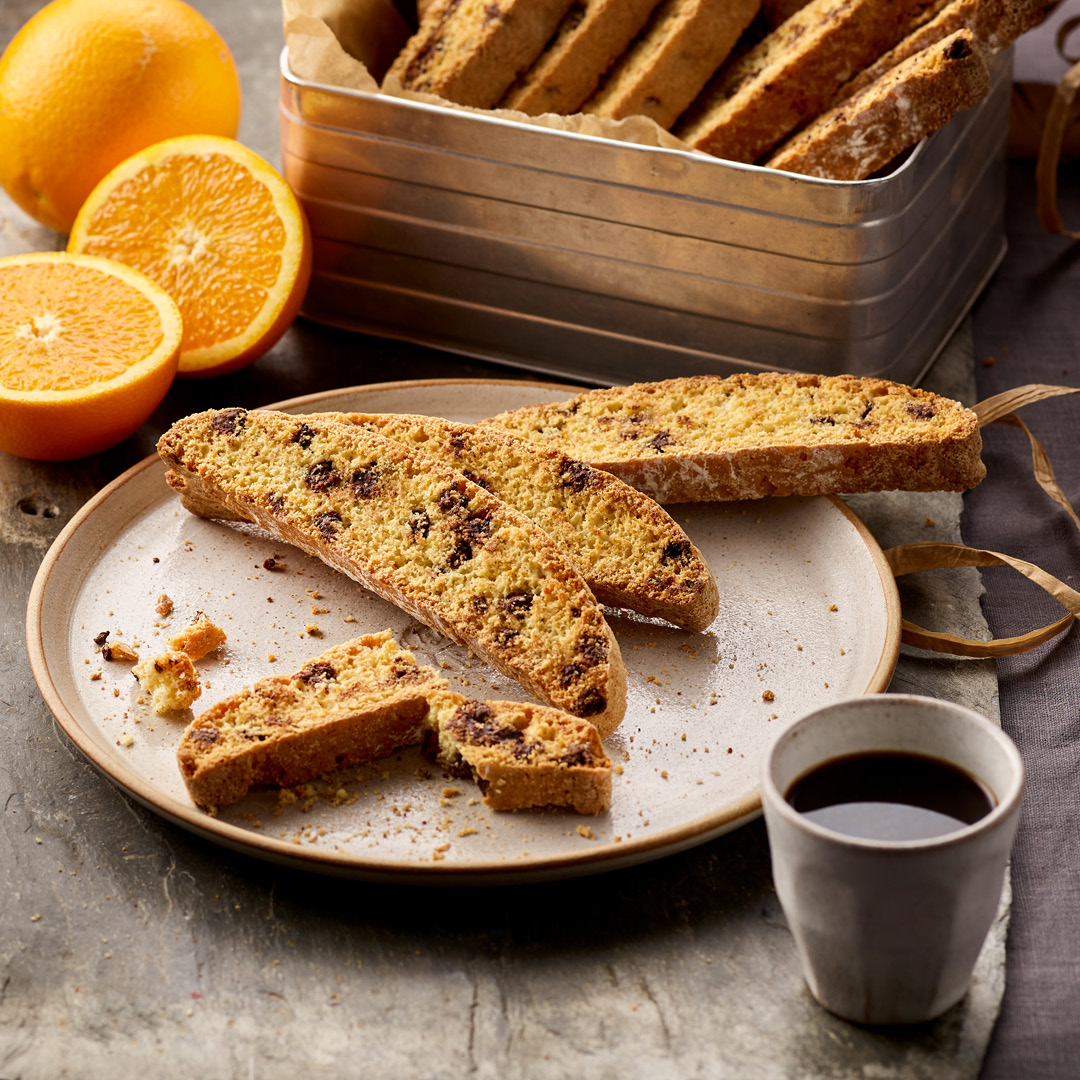
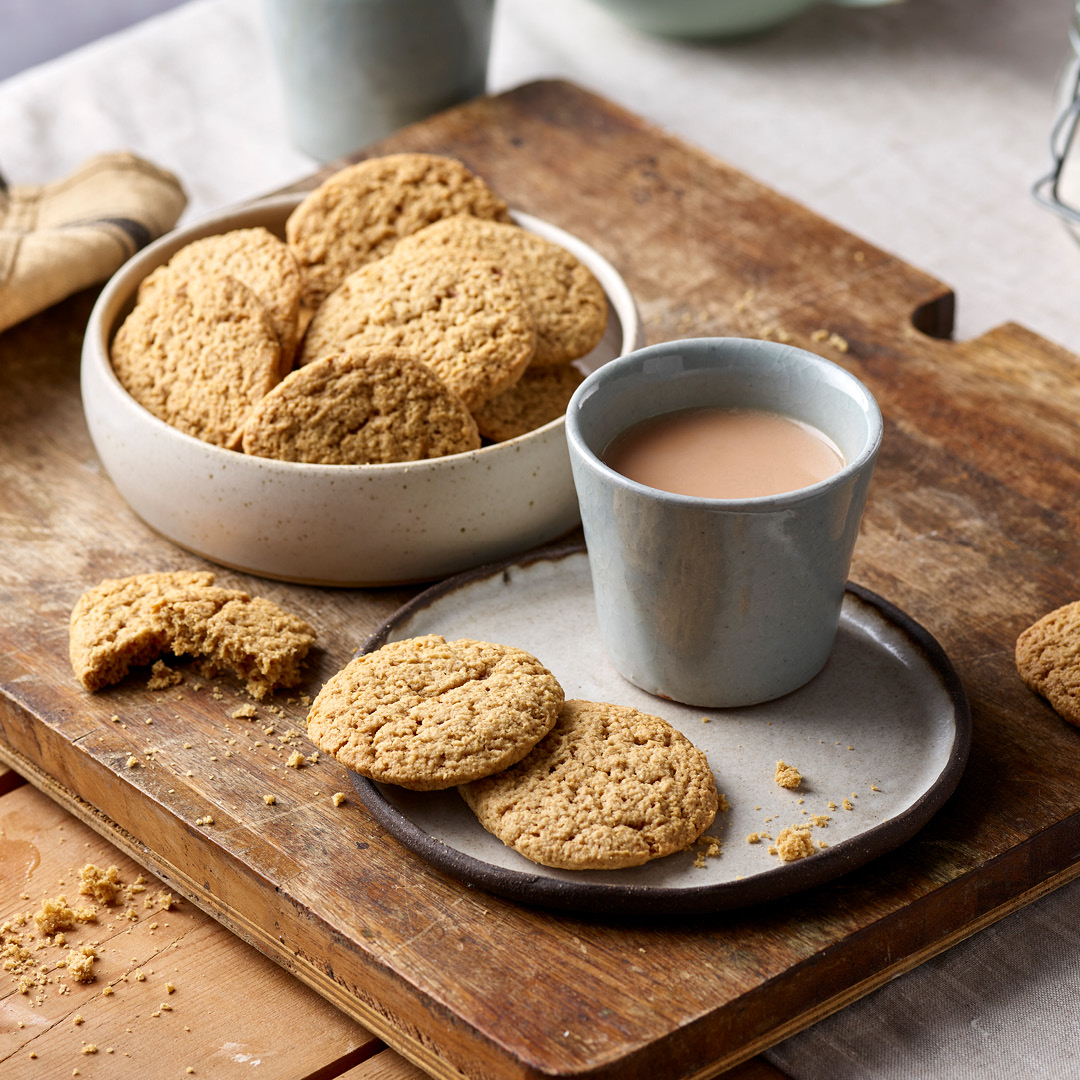
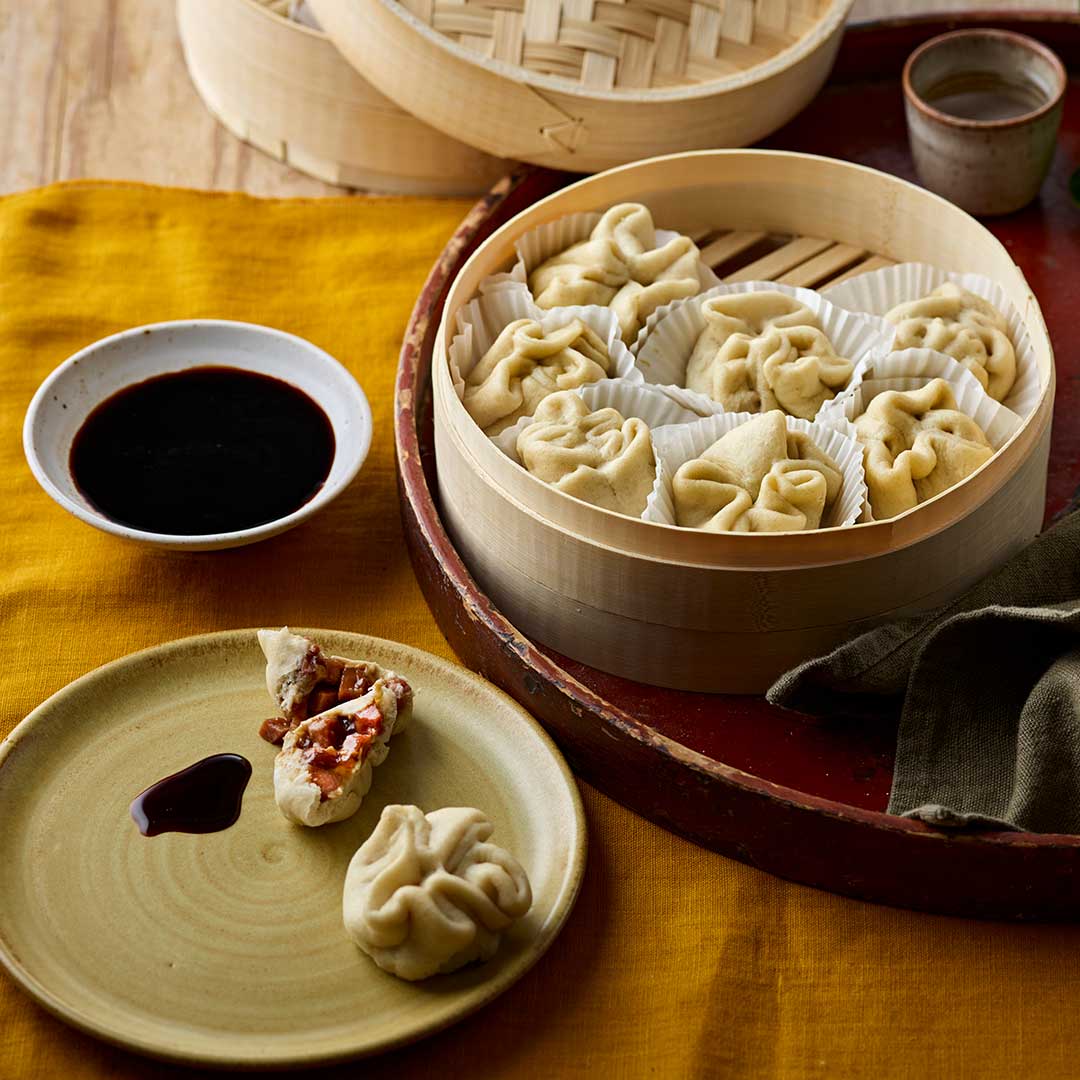
YOU MAY ALSO LIKE


Leave a Reply