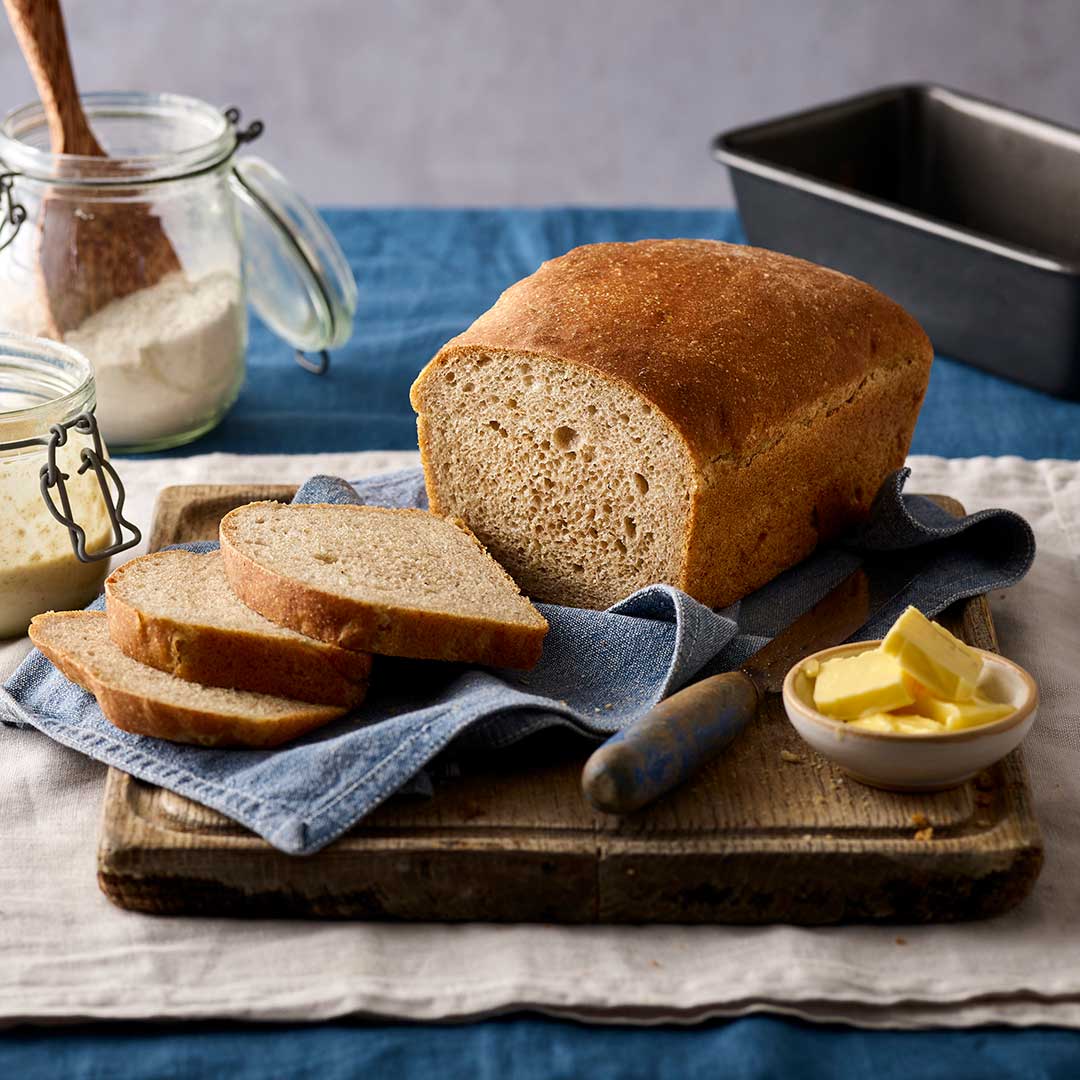
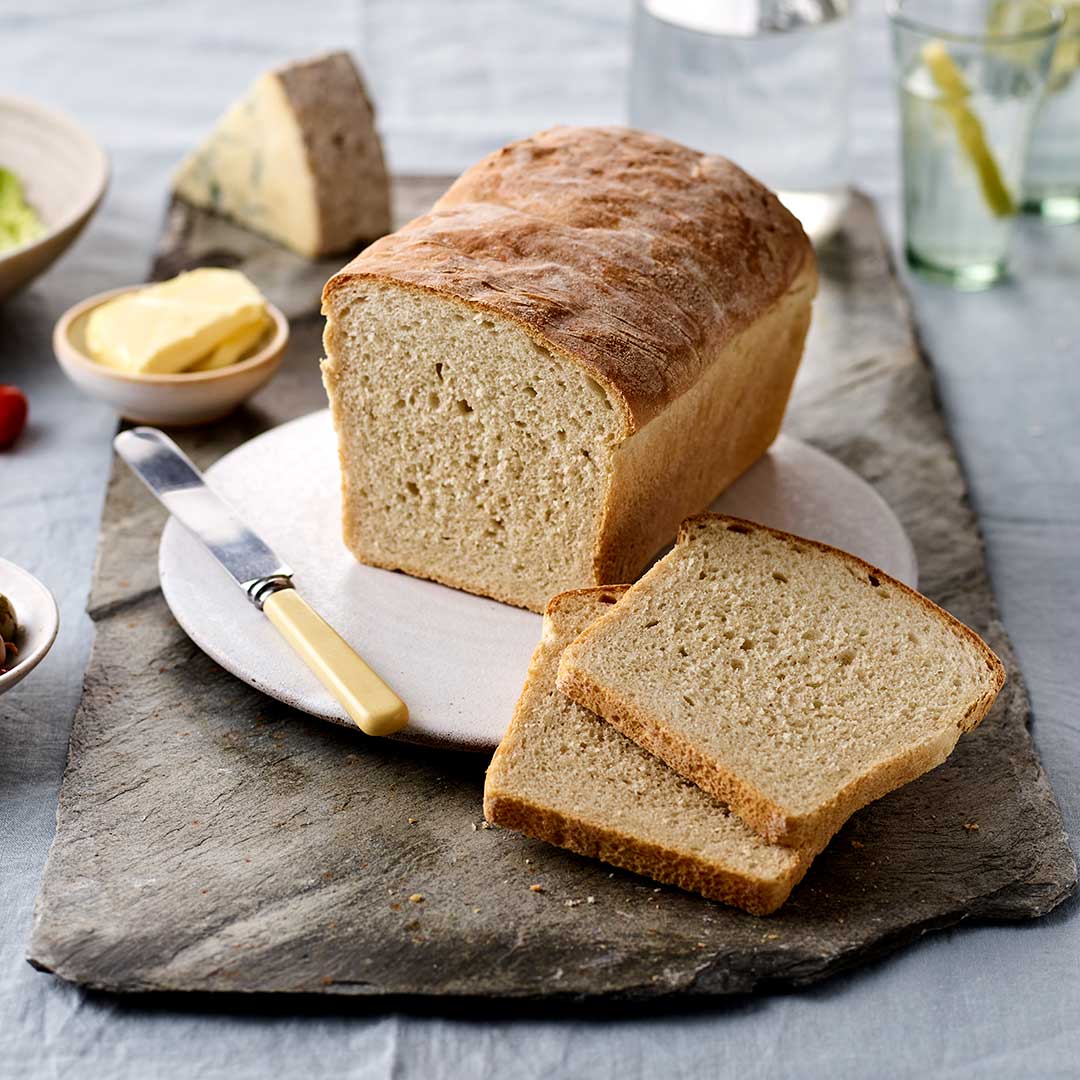
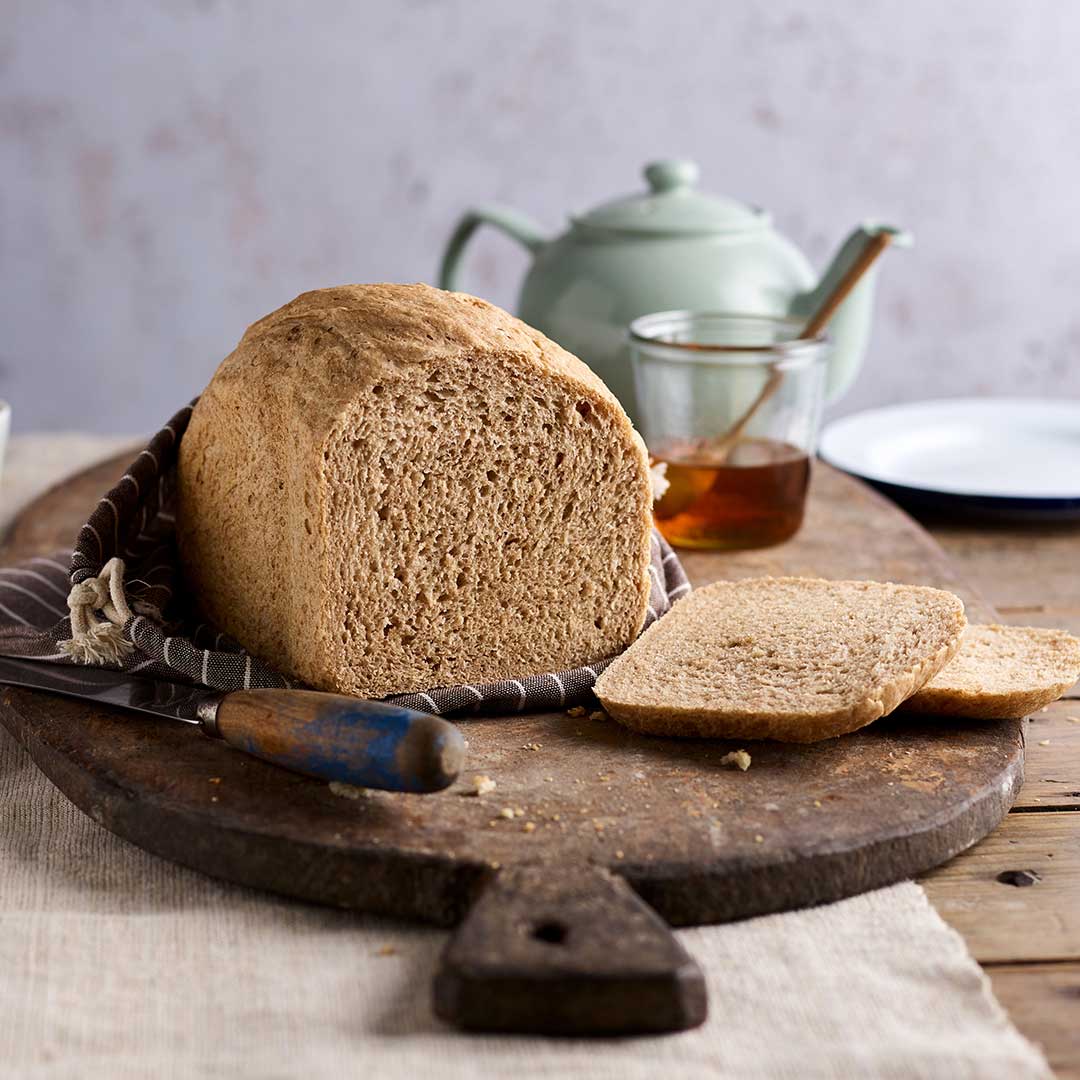
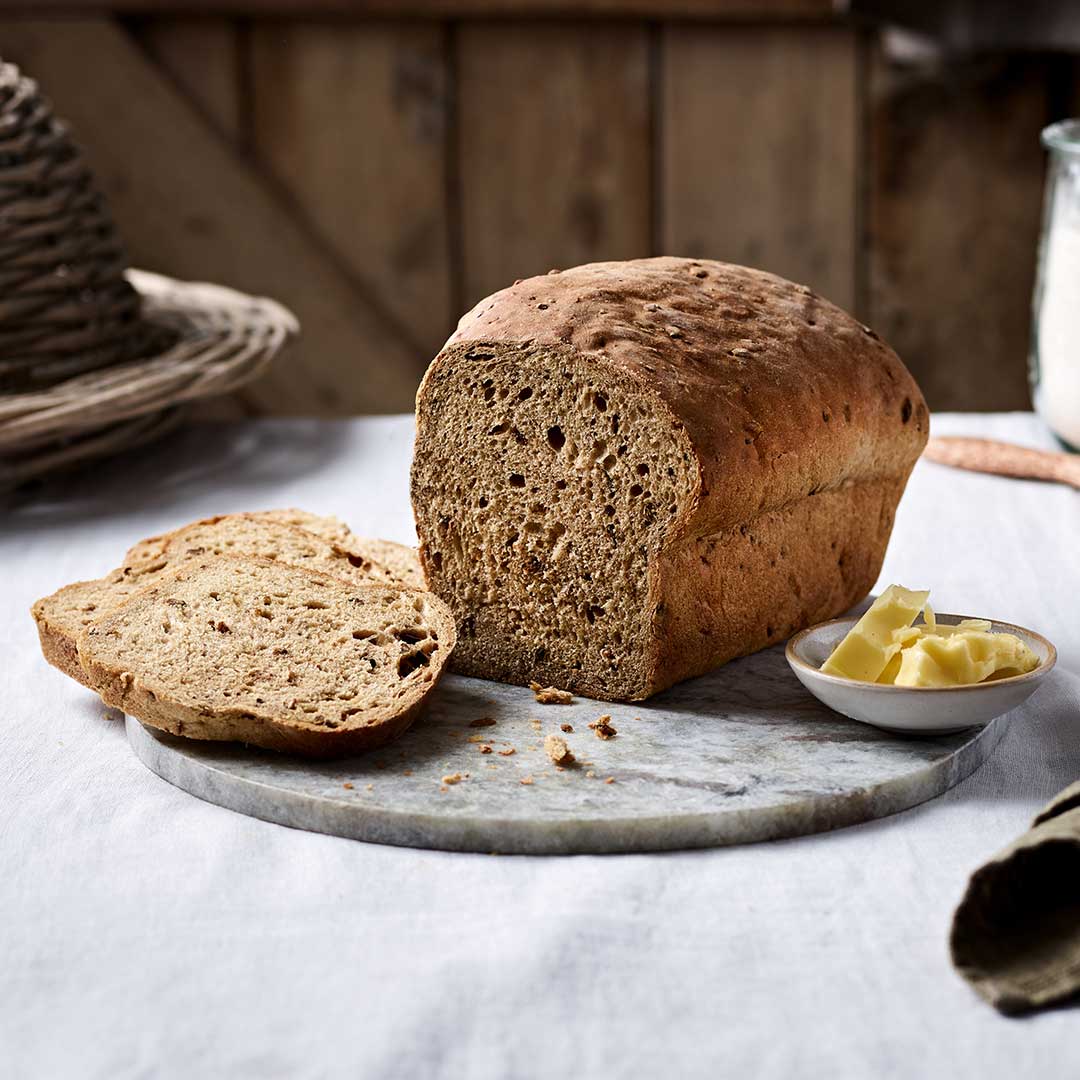
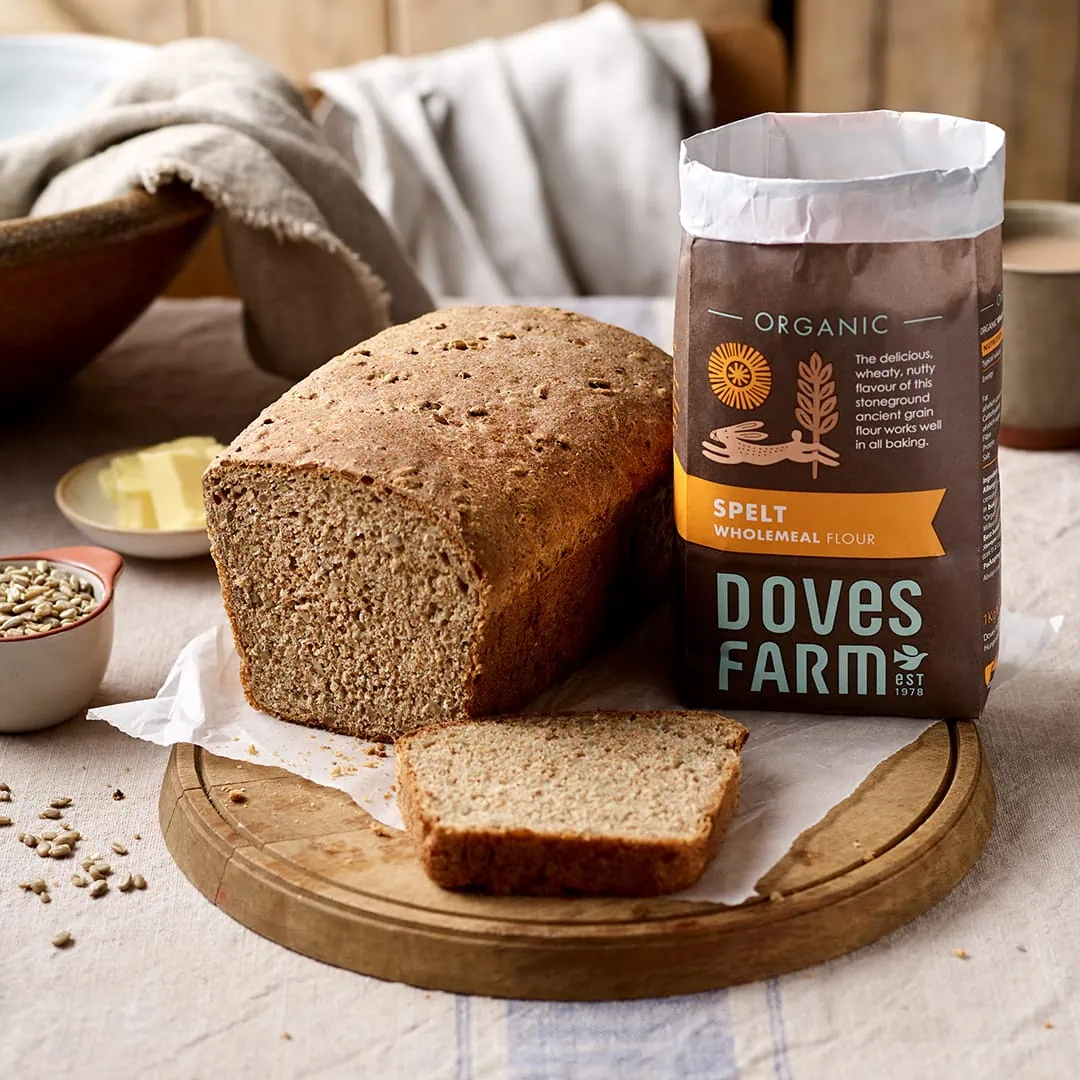
Sourdough Light Rye Tin Loaf

About this recipe:

There are three distinct stages to making a sourdough loaf, the starter, the ferment and the dough. A rye starter will take 3 to 4 days to develop and then another 412 hours to be transformed into the ferment necessary for sourdough bread making. The finished loaf will have appealing and complex sour notes that are an ideal complement for rye flour.
Before you begin to make your sourdough, we recommend reading our Guide to Sourdough Making alongside our handy Sourdough Starter Chart.
Equipment:
1kg/2lb bread tin, 500ml glass bowl and 2 x mixing bowls
Ingredients:
STARTER
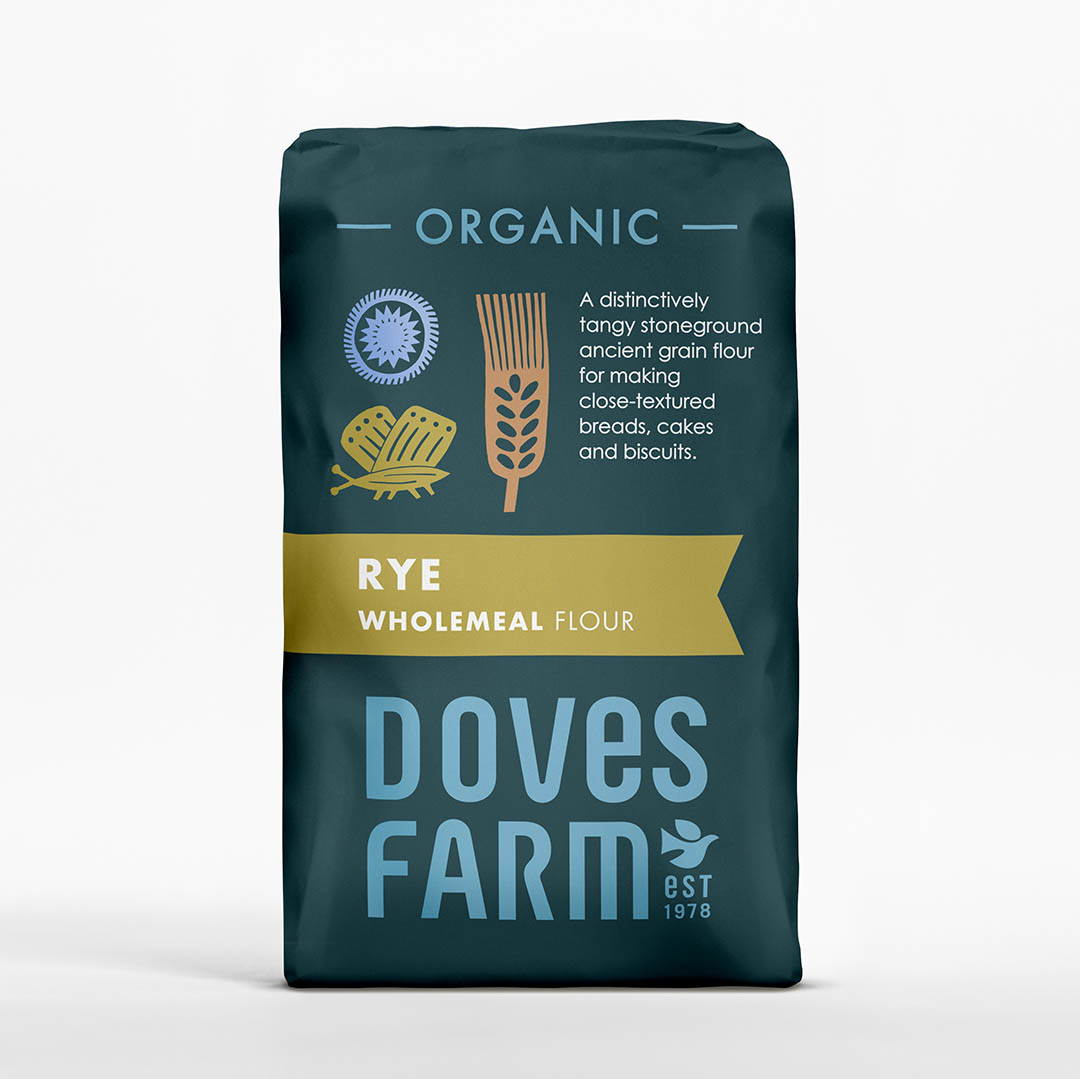
8-10 tbsp Doves Farm Organic Wholemeal Rye Flour
8-10 tbsp tepid water
RYE FERMENT
50g rye starter (from above)
150ml tepid water
100g Doves Farm Organic Wholemeal Rye Flour
DOUGH
150ml tepid water
300ml rye ferment (from above)
400g Doves Farm Organic Strong White Bread Flour
1 tsp salt
flour, for dusting
oil
oil, for tin
Method:
220°C, Fan 200°C, 425°F, Gas 7
Starter – use this handy chart to help you keep track of your feeding times.
- On the first day, put one tablespoon of flour and one of water into a 500ml glass bowl and mix together.
- Wet a clean tea towel, wring it out well, lay it over the bowl and leave in a warm place for about 12 hours.
- After the 12 hours have passed, add another tablespoon of flour and another of water, mix together, cover loosely and leave for another 12 hours.
- On day two (24 hours since beginning your starter), stir in a third tablespoon of flour and a third spoon of water, stir to mix, cover again with the damp tea towel and leave in a warm place for 12 hours.
- For the second feed of day two, add a tablespoon of flour and one of water, stir to mix, cover with the tea towel and leave in a warm place for 12 hours.
- For the first feed of day three (36 hours since beginning your starter), increase the feed by adding two tablespoons of flour and two of water, stir to mix. Re-damp the tea towel if necessary, lay it over the bowl and leave in a warm place for 12 hours.
- On the second feed of day three, add one tablespoon of flour and another of water, mix together, cover with the damp tea towel and leave for another 12 hours.
- At this point your starter should be bubbly and ready to create your ferment. If the starter is not showing bubbles, repeat the 12-hour feed and water routine, and ensure the starter is kept in a warm place.
Rye Ferment
- Once your starter is bubbly, stir it and measure 50g of the starter into a large mixing bowl.
- Pour 150ml water into the bowl and stir until lump free.
- Add 100g rye wholemeal flour and stir to mix.
- Invert a larger mixing bowl over the dough bowl and leave in a warm place for 4-12 hours until bubbles appear. When bubbly, your ferment is ready to use (you can either dispose of any unused starter after bread making or keep and feed it regularly until your next baking session).
1st Dough
- Pour the tepid water into the ferment and mix well.
- Add the flour to the ferment and stir to mix.
- While the dough is still craggy and lumpy, stir in the salt.
- Using your hands gather everything together, gently pressing into a ball of dough.
- Knead the dough in the bowl for 50 presses without adding flour.
- Invert a mixing bowl over the dough bowl and leave in a warm place until double in size which may take 4–12 hours.
2nd Dough
- Rub some oil around the inside of a 1kg/2lb loaf tin.
- Run a spatula around the edge of the swollen dough.
- Pour a little oil onto the dough and dip your fingers in the oil.
- Pick up the dough on the far side of the bowl, gently pulling and stretching it upwards then fold it forward onto the dough still left in the bowl.
- Turn the dough a quarter to the left or right.
- Repeat the action of lifting and stretching the dough then folding back onto itself five or six times, turning the bowl each time.
- Tuck the edges of the dough shaping it into an oblong.
- Transfer the dough to the bread tin.
- Invert a mixing bowl over the bread tin and leave to double in size, 2-12 hours.
Baking
- Pre-heat the oven 20 minutes before you are going to bake.
- Remove the upturned bowl.
- Bake for 35-40 minutes until golden brown.
- Transfer the bread to a wire rack and leave to cool.
Click this link to find a handy Sourdough Starter Chart which when printed has space for you to enter the day and time that you feed your starter with flour and water and to help monitor progress.
This Guide to Sourdough Making contains lots of hints and tips for successful sourdough bread making.
Shop This Recipe:
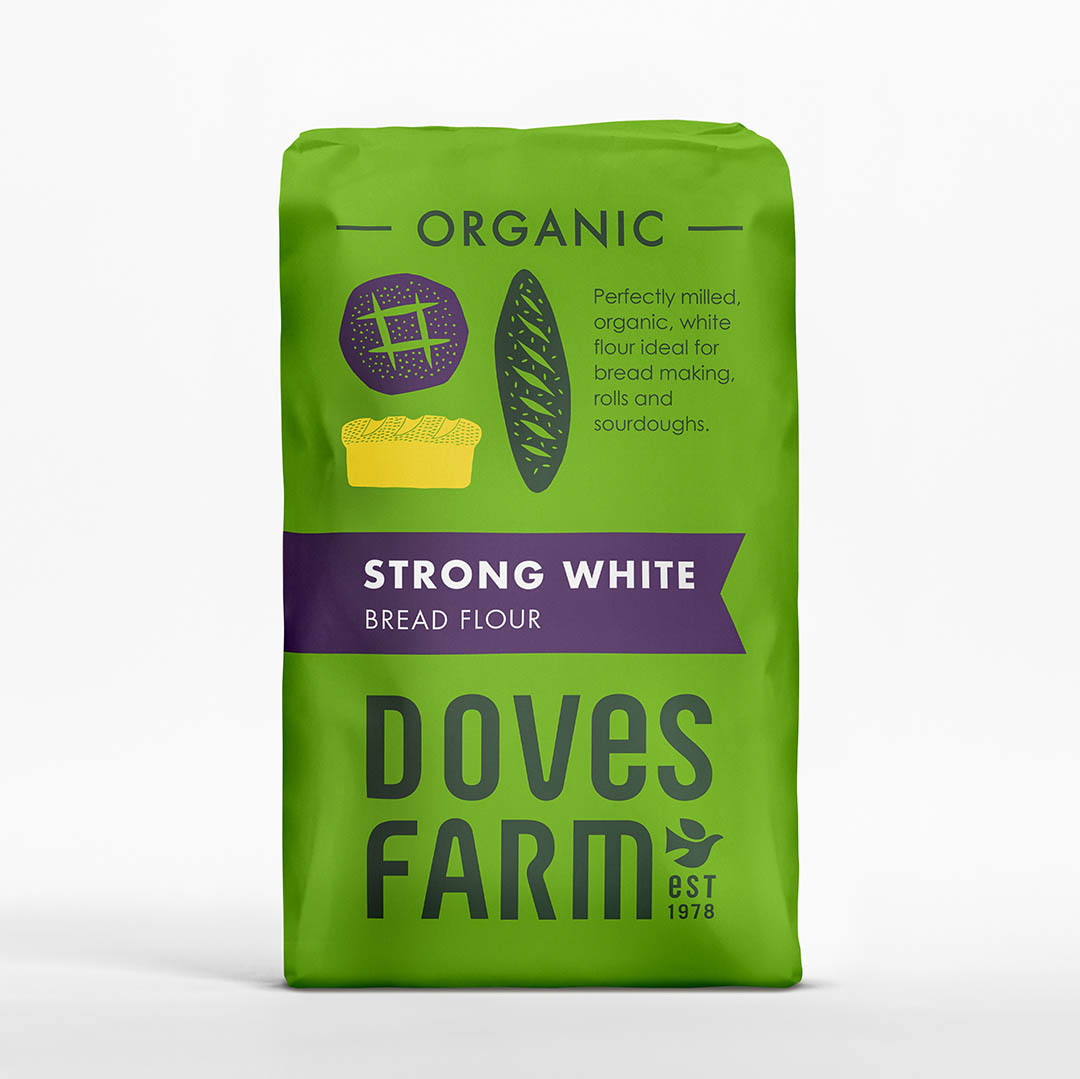
Bread Flour
View Category


Related Product Categories
Shop our full range

Leave a review?
Leave a Reply
YOU MAY ALSO LIKE


A. Happy Bread Maker
After years of wishing to be able to make sourdough bread and finding every recipe and technique way too complicated I am happy to report that I have been making bread weekly now thanks to this recipe and the directions on this website on how to make your own starter. The starter is happily bubbling away and the bread is delicious. I have changed a few details of the recipe to make it even easier - I am not doing any kneading or stretching, just stirring well. I am making this recipe with 100% rye (a mix of white and wholemeal doves farm rye flours) and need to add 150ml extra water at the dough stage and I am cooking it in a cast iron pot cheaply bought from Sainsbury with the lid on but removed for the last 15mins of baking). I am making the loaves more flat and wide (using the largest cast iron pot I could buy) so that it takes less baking time and the resultant slices are perfect for fitting several in the toaster and dipping into cups of hot chocolate or coffee - French breakfast style. Today I am even experimenting with using beetroot juice instead of water. Thanks for the simple do-able recipe :-) Especially great to have this skill now that bread and flour is going up in price. Rye flour still seems to be the cheapest.
Reviewing: Sourdough Light Rye Tin Loaf
Libby
This turned out really nicely. I already had a sourdough starter on the go so I used it instead of making a new one. I also used white spelt instead of white bread as I avoid wheat. The texture was nice and quite light, with the chewy sourdough crust. It tastes very nice too and makes a good sandwich.
Reviewing: Sourdough Light Rye Tin Loaf
Sarah Spangles
Perfect crust and nice springy crumb, very tasty. I made this using my own rye sourdough starter as the basis of the ferment. I left the ferment for about 16 hours overnight and then used the sourdough setting on a Panasonic bread machine for the final step, including 1/2 tsp of salt. Not quite enough salt for me, but I wouldn’t want to add more in case it reduces the rise.
Reviewing: Sourdough Light Rye Tin Loaf